
House Renovations - Part 3 Bedrooms
15th March 2023
The bedrooms were the easy part of the renovations. We just had to remove the inner linings on the walls to the exterior of the house to install some insulation, put in the new built-in wardrobes and paint the walls.
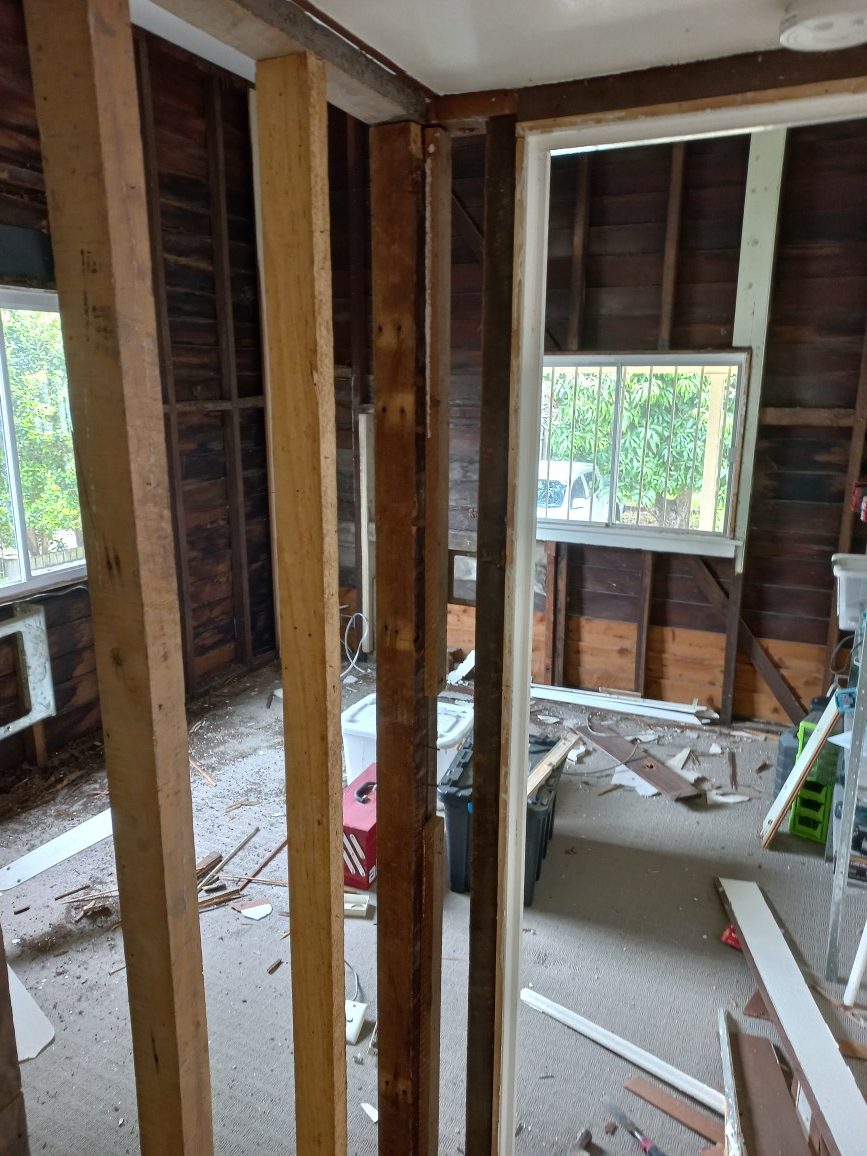
We suspected that the doorways would have breezeways above them, as many old Queensland homes do, and when we took a peek behind the lining it turned out that the openings were still there. We got to work in Emmet’s room, the master bedroom and the front doorway to reveal the breezeways and fix them up since they do a good job of keeping the place cool during hot summer nights. We had new frames made up that will fit in the breezeway openings but they haven’t been installed yet. They’ll need some glass cut to fit in them before we can install them and will be useful for keeping some heat in the rooms come winter. Of course they’ll be hinged so that they can be opened for summer.
There was somewhat of a rush to get the built in wardrobes assembled in all the rooms so that we could get the plasterer to come patch the ceilings and throw up the cornice before the painter arrived.

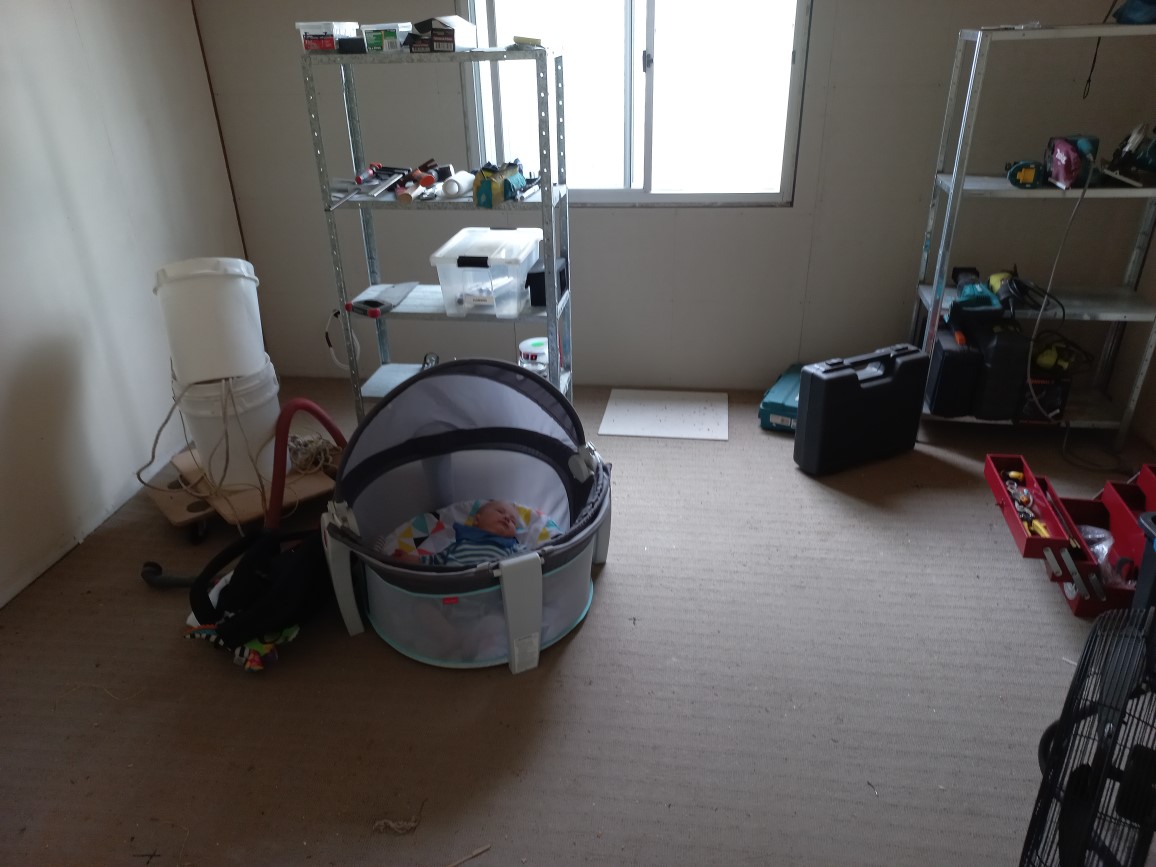
The foreman being carried around by mum.
Master Bedroom
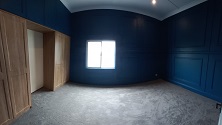
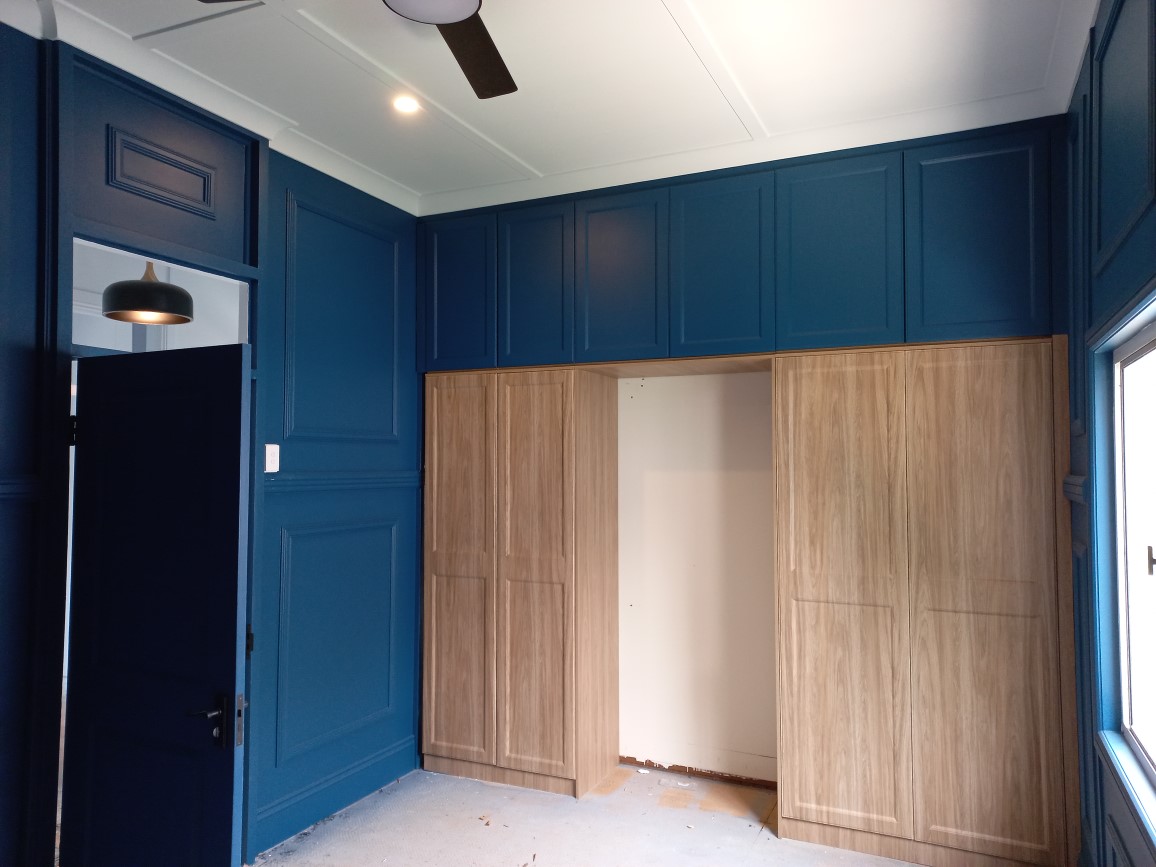
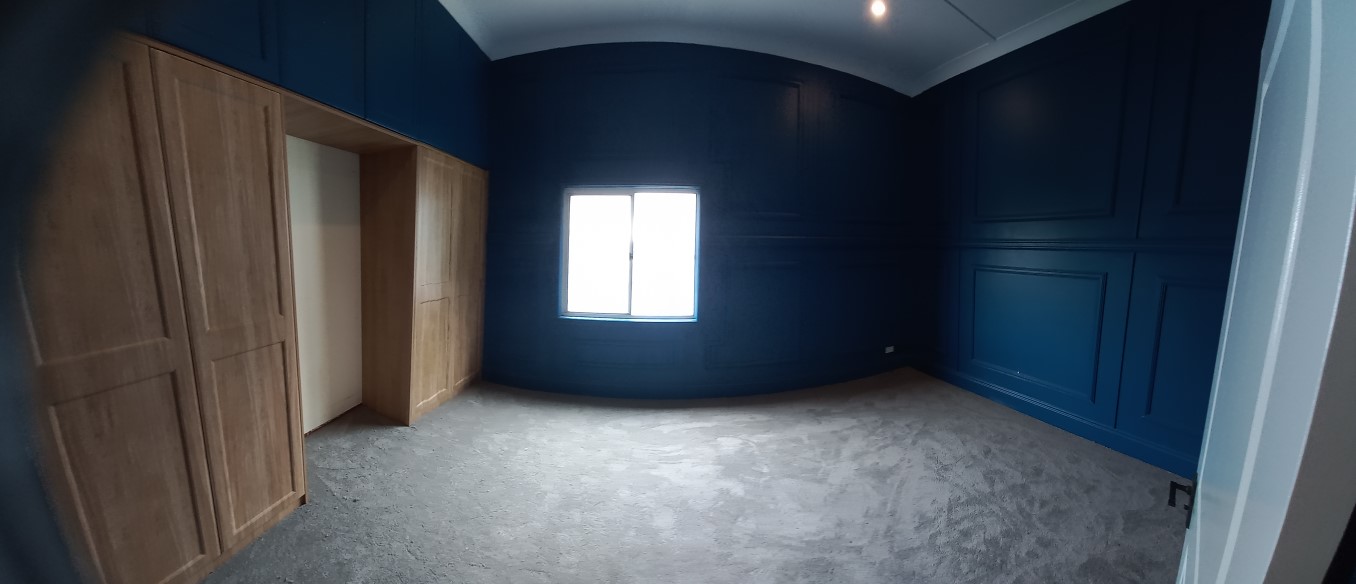
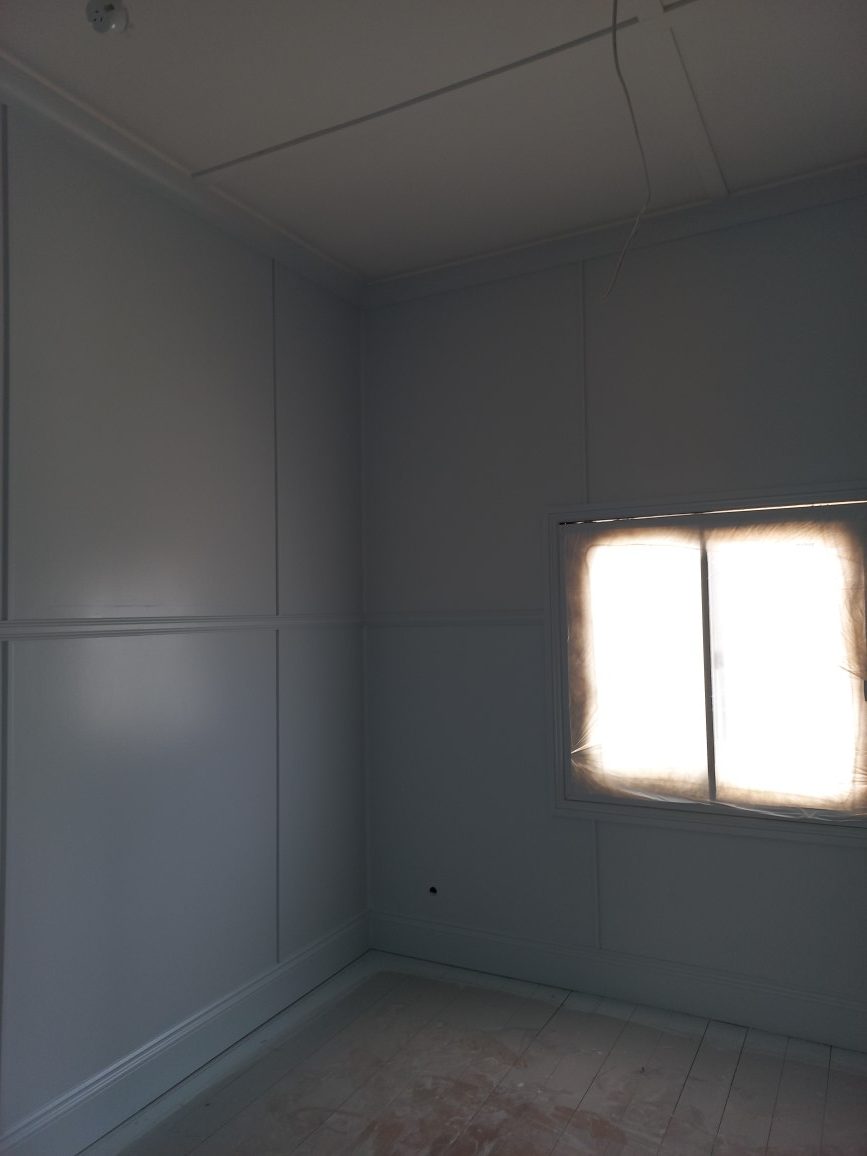
I wanted something a little more interesting for the master bedroom after watching the series ‘True Blood’ and seeing Bill’s house after he became the sheriff or whatever. A darker colour and something more visually striking than a plain old Gyprock wall. I spent a couple of days fixing belt rail in a frame pattern on the walls to create the feature I hoped would look good. I believe this process is called wainscotting. The photos don’t really do it justice but I’m very happy with the result and the darker colour keeps the room nice and dark for a good night’s sleep.
The timber look Polytec wardrobes were custom designed by Jade and I reckon the brown timber finish looks great against the dark blue paint. The top wardrobe doors were delivered unfinished and painted in the wall colour. Between the cabinets will eventually be a doorway into the ensuite which is part of stage 2 of the house renovations.
There are still a few paint touch-ups to do since the apprentice electrician was a bit wild with the solder but they’ll be done once it’s time to get the breezeways (fan lights) installed.
Gallery - Master Bedroom


Emmet's Room
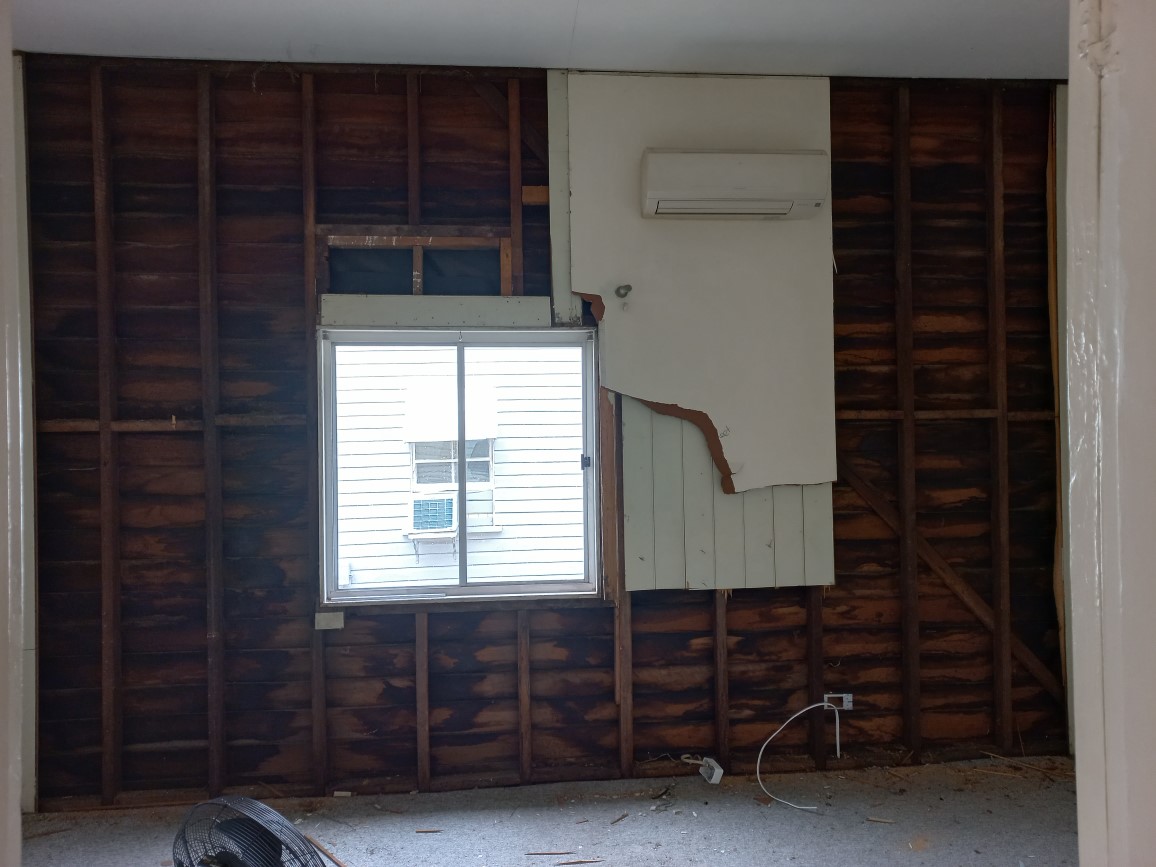
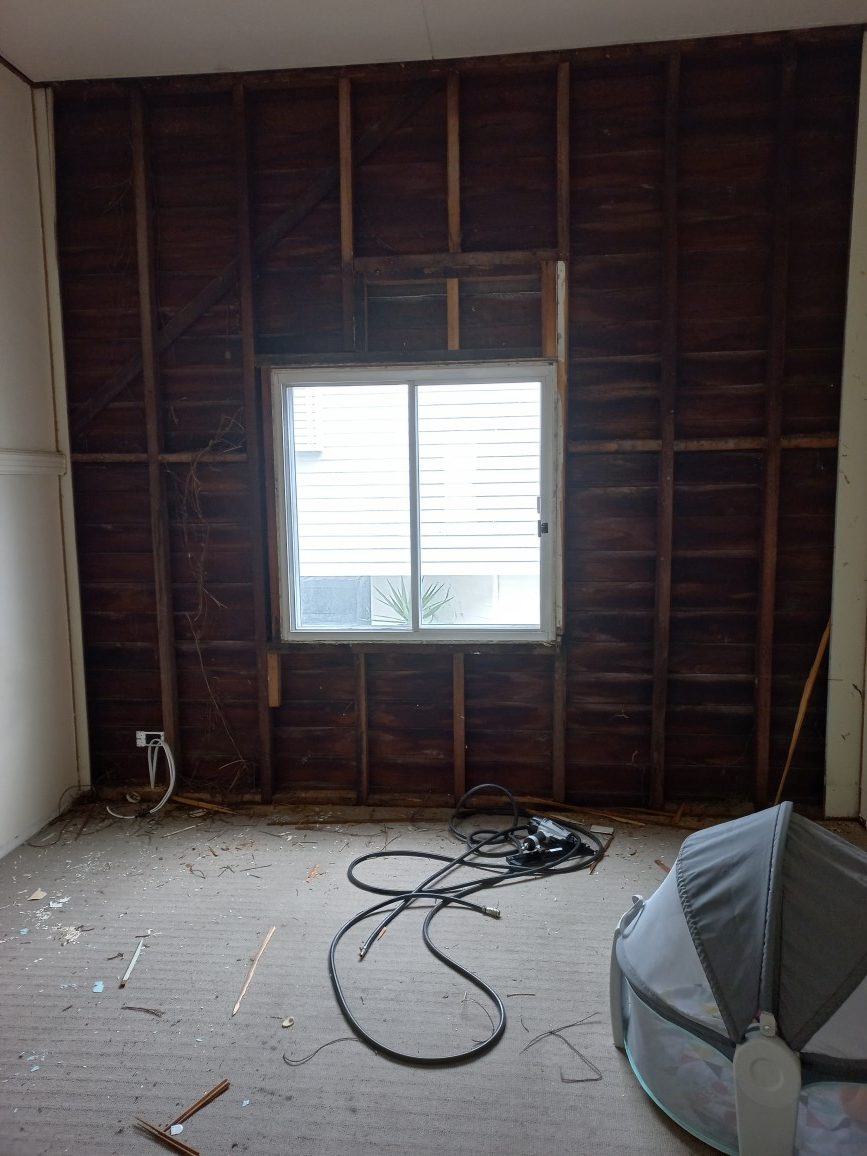
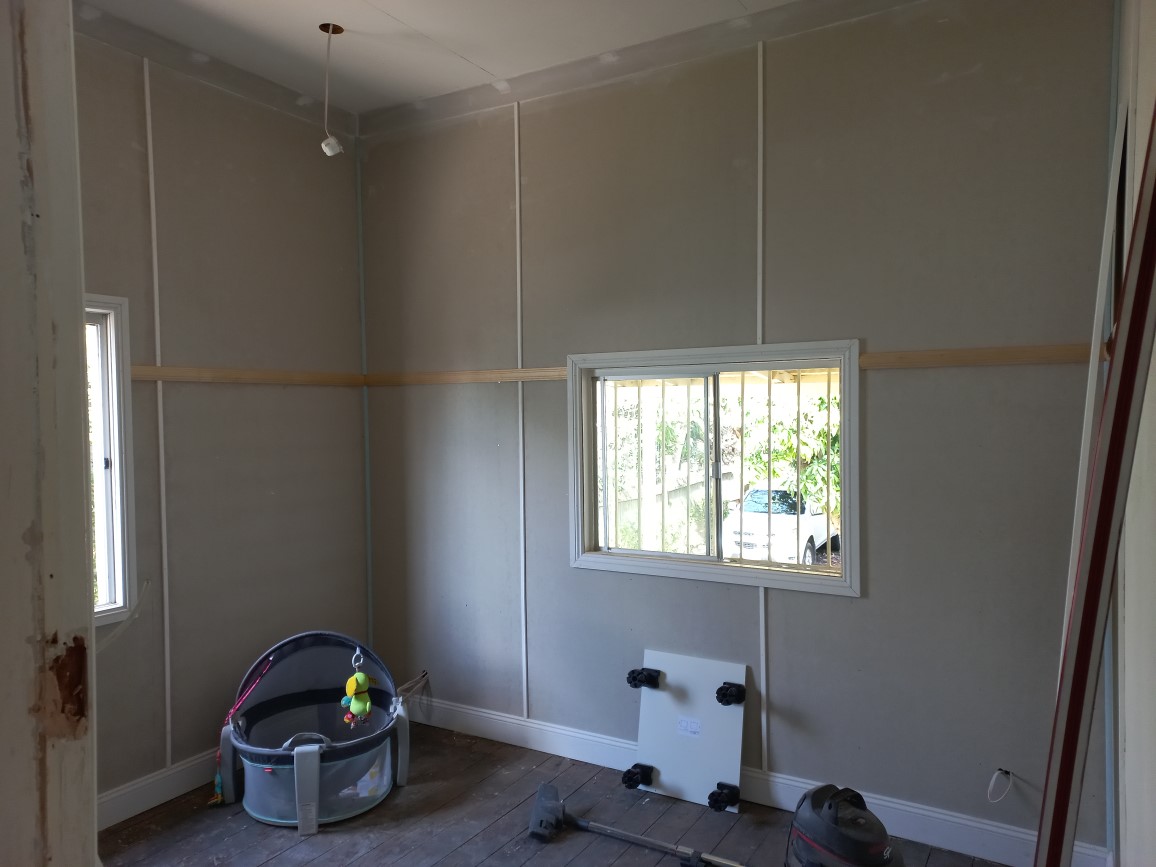
We tried to concentrate on this room first so as to create a dust free space for our baby to nap while we worked. We were cautious about keeping the room tidy and it was vacuumed regularly to keep it clean. I think the first job we did was to strip the lining so that we could get insulation in and new FC sheets up. Thanks to our chippy mate Sam for helping out for the day and getting this done for us.
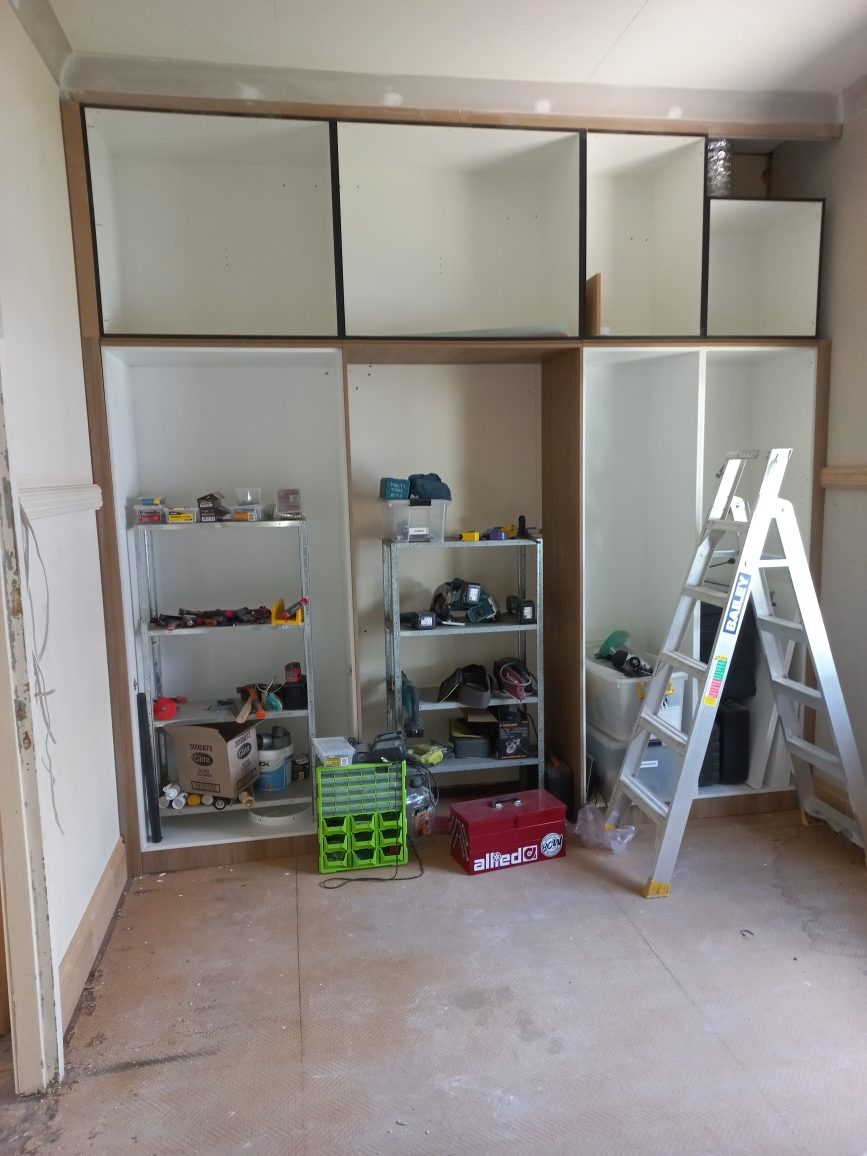
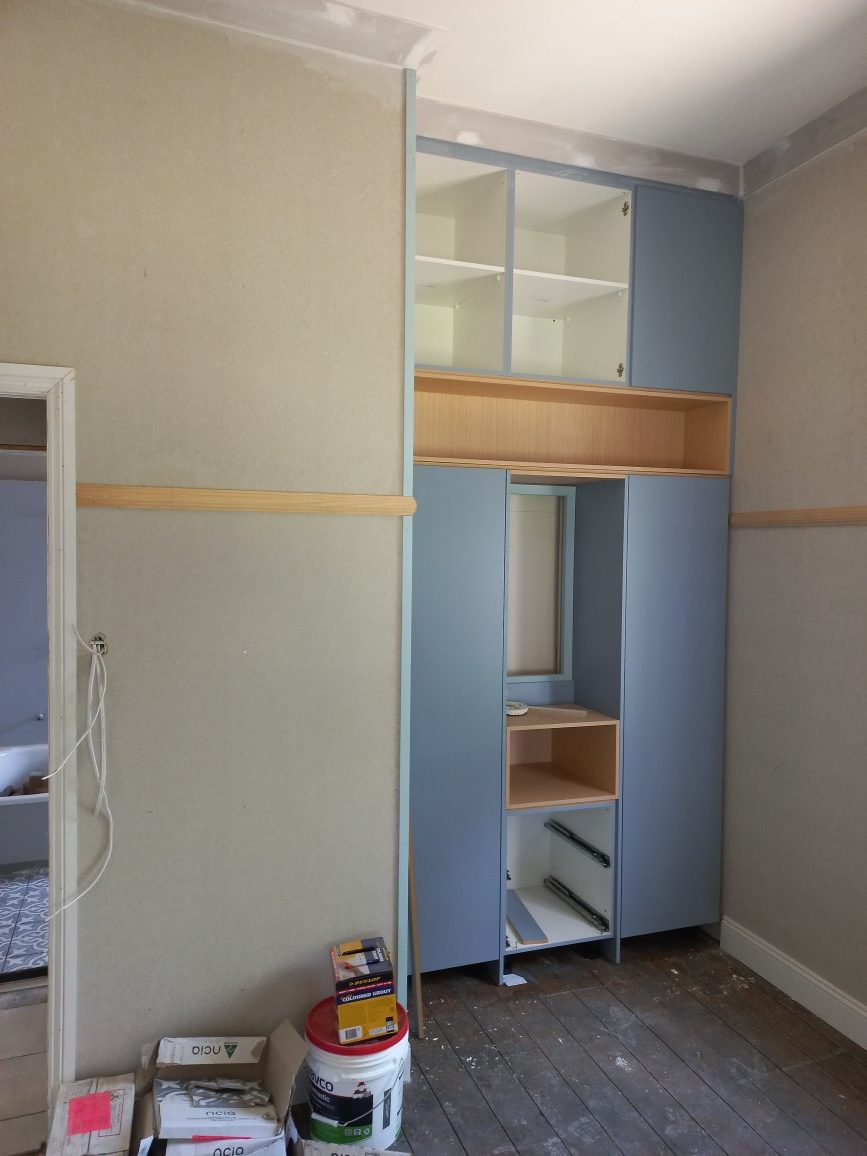
The paint colour for all the rooms except the master bedroom was Dulux Pre-School Quarter which I believe Jade picked because she’s so happy to be a new mum and it reminds her of our baby boy. It contrasts nicely with the wardrobe colour which is Steel Blue and the Beech colour timber laminex. Again, Jade is responsible for the wardrobe design which has a little nook for everyday items, a bookshelf up higher and more storage up above that.
The wall beside the wardrobe has framework for a window which would have been in the original house design but was walled over when the previous owners built in the front verandah. Stage two of the renovation will have this opened up to be a doorway into an office that will be built on the on the other side.
Gallery - Emmet's Bedroom


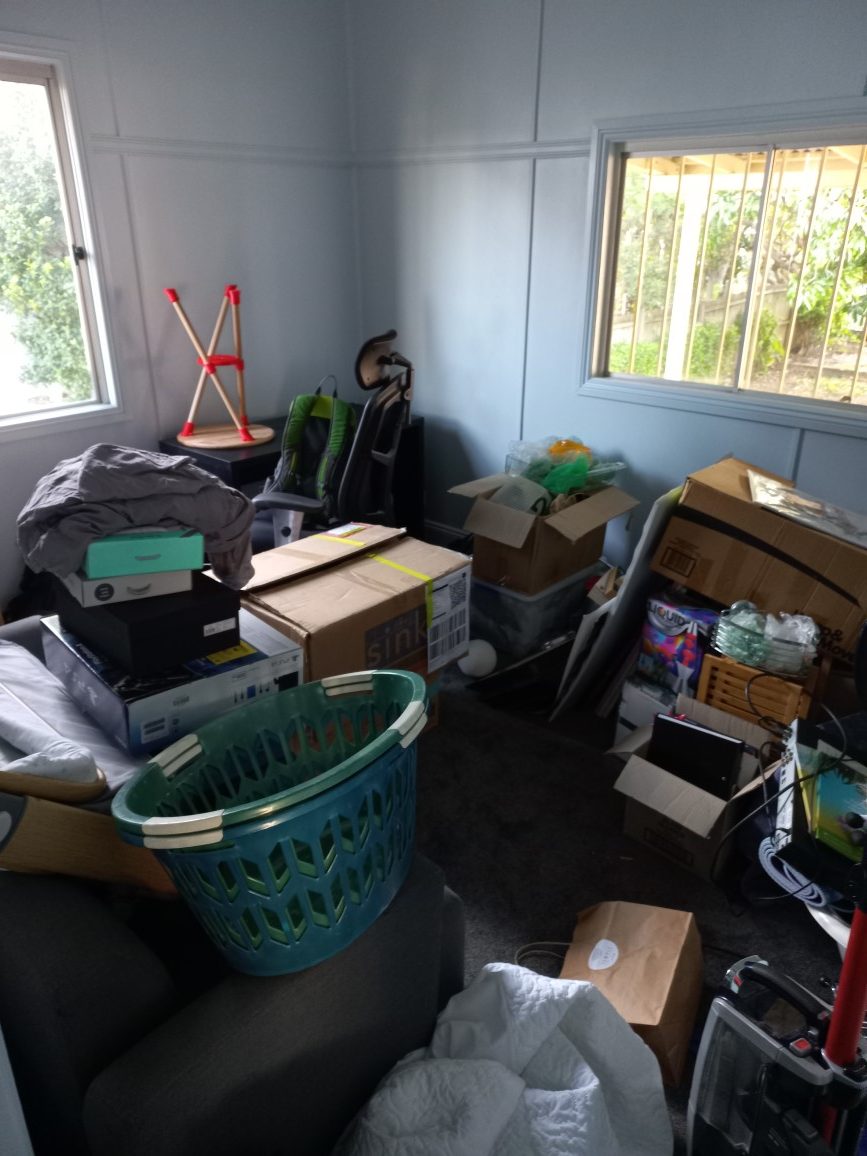
Janey's Room
In case you’re wondering, Janey is a placeholder name for our non-existent second child. Whether or not this child actually comes along is out of our hands but we do know one thing and that is if they do come, they won’t be called Janey. In the meantime, this room is being used as a temporary office setup for Jade, storage for things that don’t have a place anywhere else yet and an extra play area for Emmet.
After insulating the exterior walls, the timber frame wall battens needed to be extended to allow for the different thickness wall sheeting, ie going from a 19mm thick pine board to 4mm thick FC sheet panels required some timber behind to compensate so that the wall would be flush to the window frame. This was the case in the master bedroom and lounge room also.
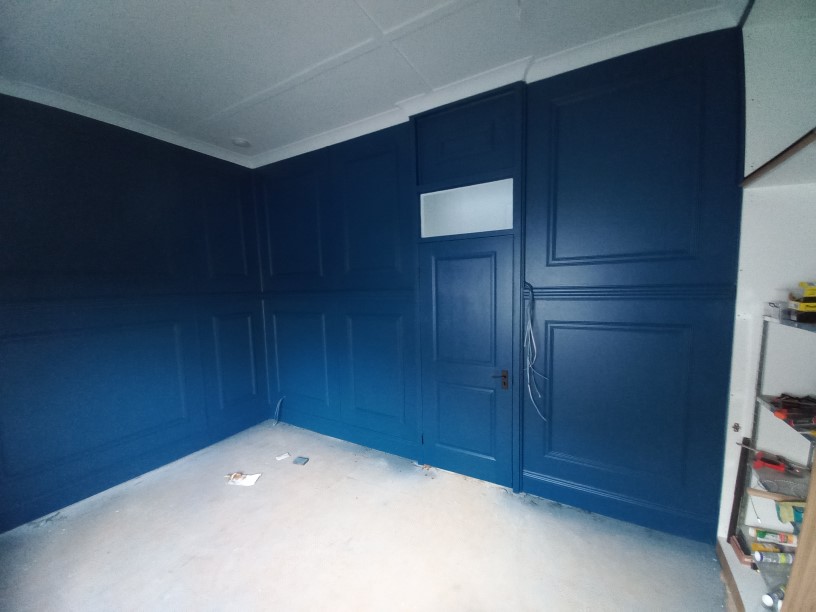
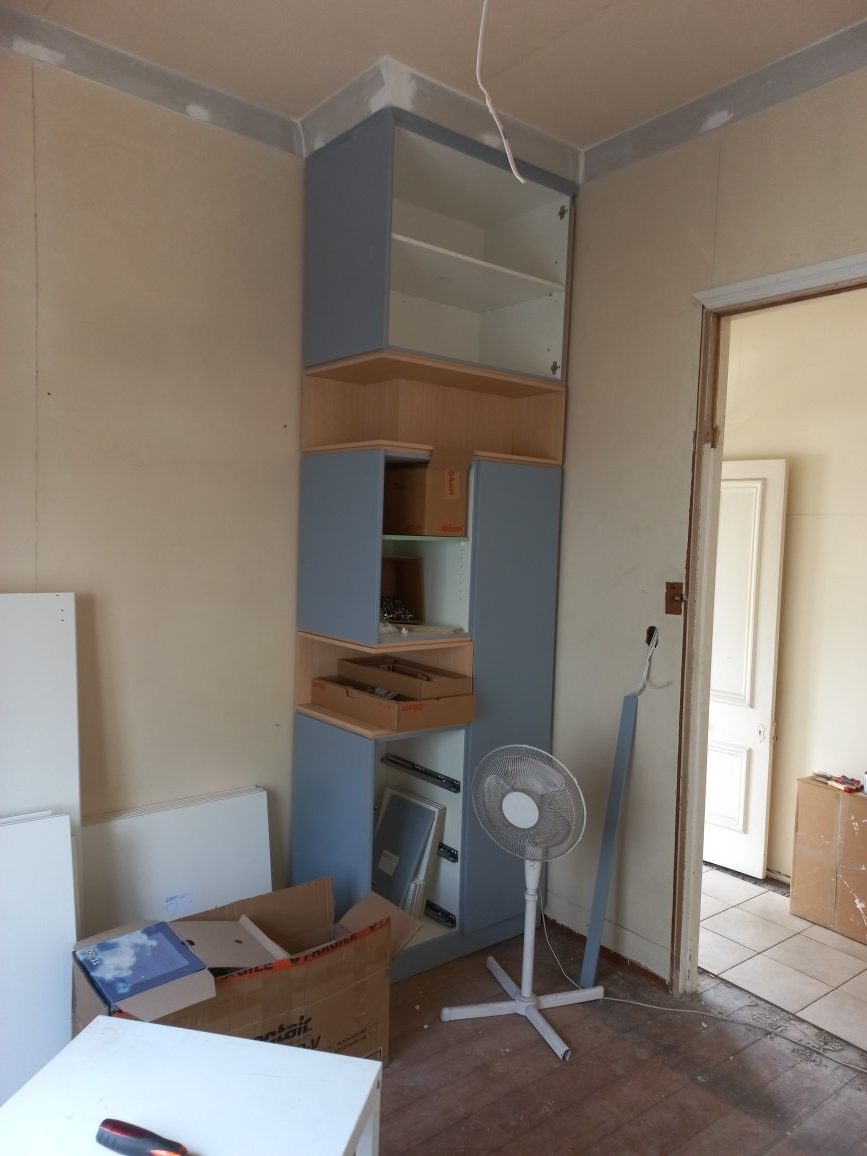
The entry door to the room was in a makeshift hallway with a sheet of masonite on top just above head height. We ended up building a proper frame wall structure that rose up to the ceiling and was designed to house a built-in cabinet that would be the linen cupboard. The wardrobe in the bedroom was then designed to fill the alcove created by the frame structure. I think we nailed the design in regards to the most efficient use of space and positioning the linen cupboard just outside the bathroom. Again, the wardrobe was conceived by Jade and features a bookshelf and built-in mirror.
Gallery - Janey's Bedroom


This is the last of our renovation updates for now. There have been a few small jobs done since the photos were taken so I may do a follow-up blog down the road with a few updates for anyone interested. There are still a few little jobs around in the stage one part of the house that need finishing and we’re slowly chipping away at them.
The next step is getting the back shed built which should be in about four months time since everyone wants a shed now it seems. They’ve told us we’re in for a six month wait when we gave them the go ahead. Once the shed’s built I’ll be able to make some space downstairs and start building the Lannix Design office and 3D printing workshop.


Pingback: March 2023 – Learning Blender For – Lannix 3D