
House Renovations - Part 2 Bathroom
22nd February 2023
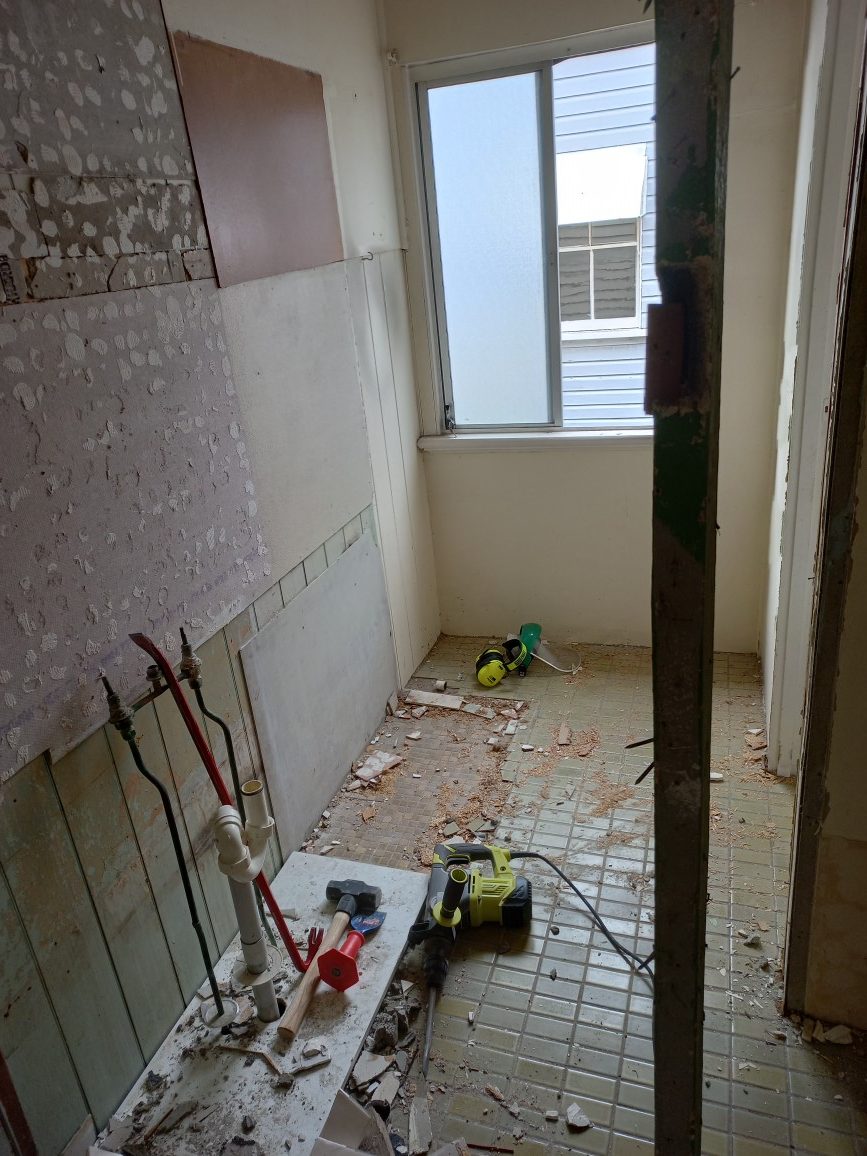
The bathroom was by far the most work of any part of the renovation as is usually true for most whole house projects. The original bathroom was a hodge podge of add-on sections that were both poorly thought out and poorly executed. There was a toilet room inside the bathroom that just took up space and an unnecessary wall that made the shower a dark and dingy hole. There was poorly placed cabinetry that blocked out the limited light coming through the window and had been constantly wet so was falling apart. In fact, the bathroom was never sealed properly since it was done over fifty-two years ago and consequently, the wall and floor around the shower was rotting and needed to be replaced.
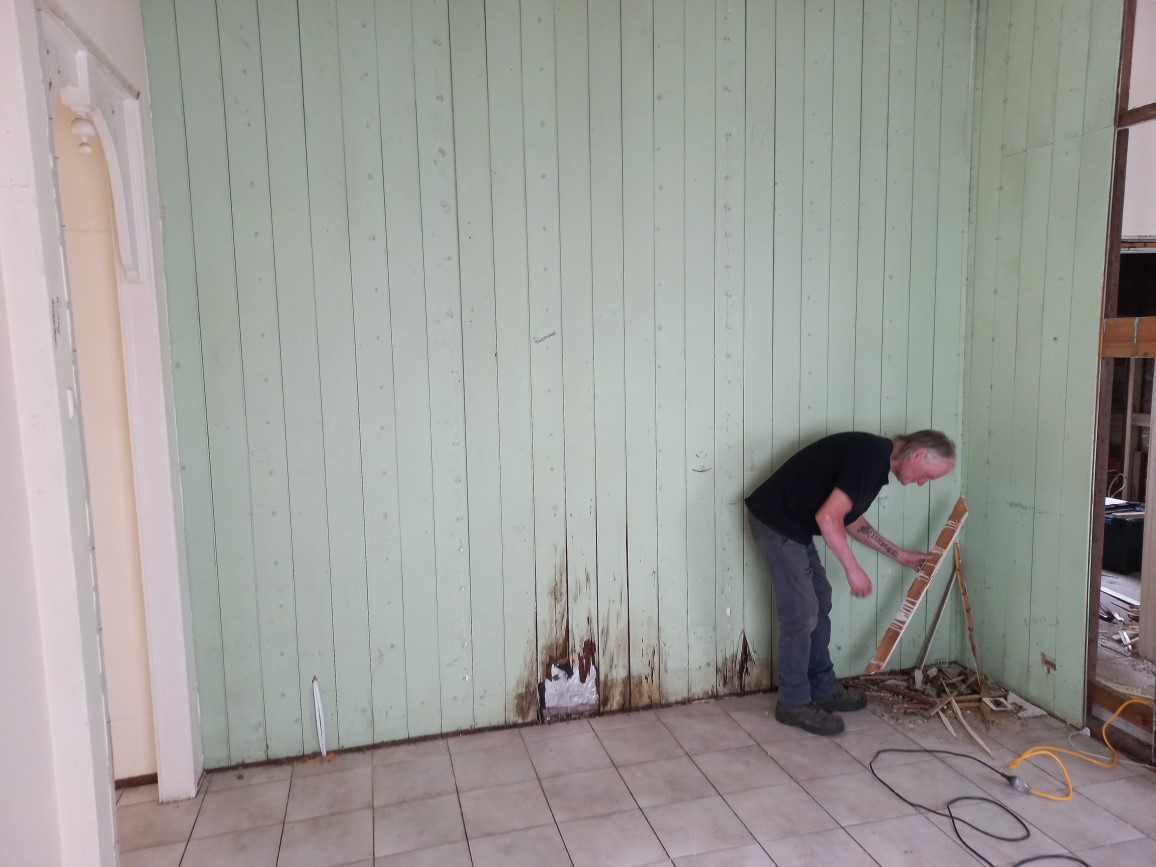
We knew when we bought the place it would be a big job but even so, it turned out to be bigger than we thought! I’m glad for the help we had from one of Jade’s dad’s mates Scotty, who gave us a hand to demolish the place.
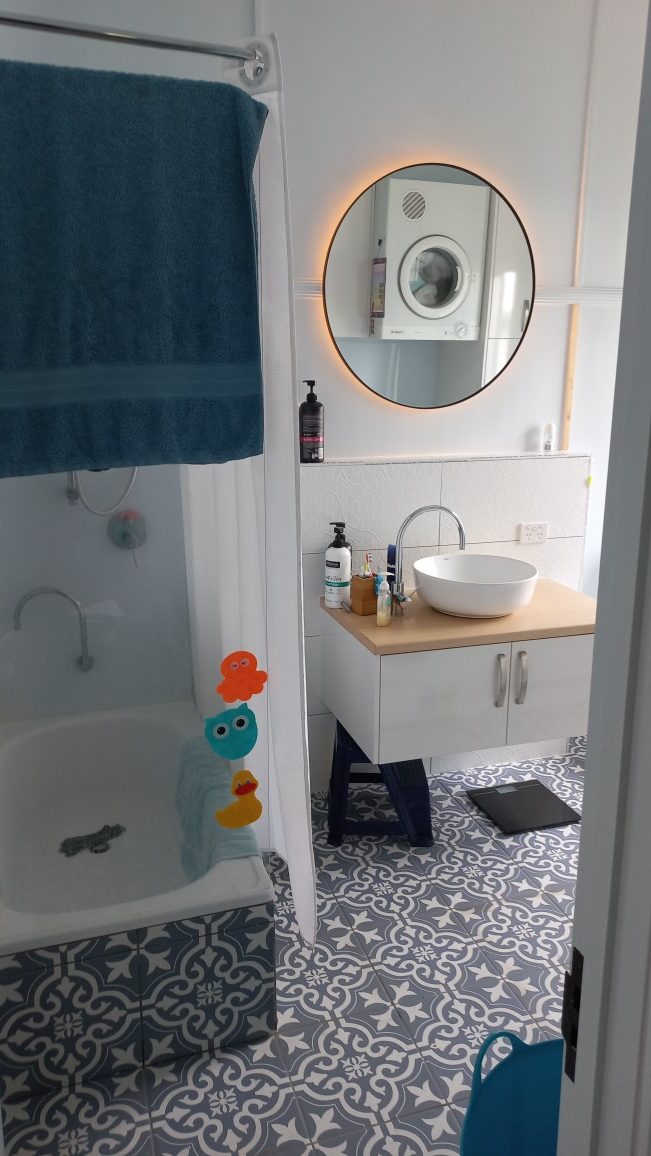
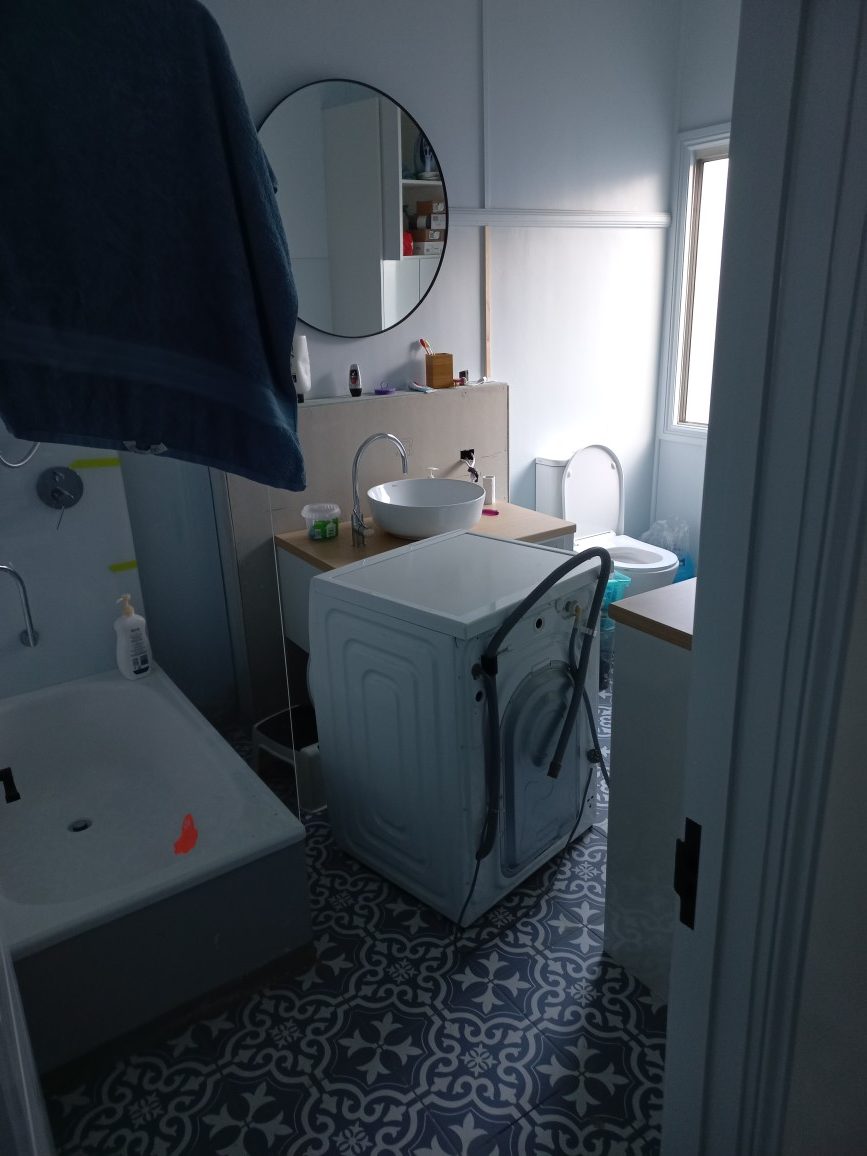
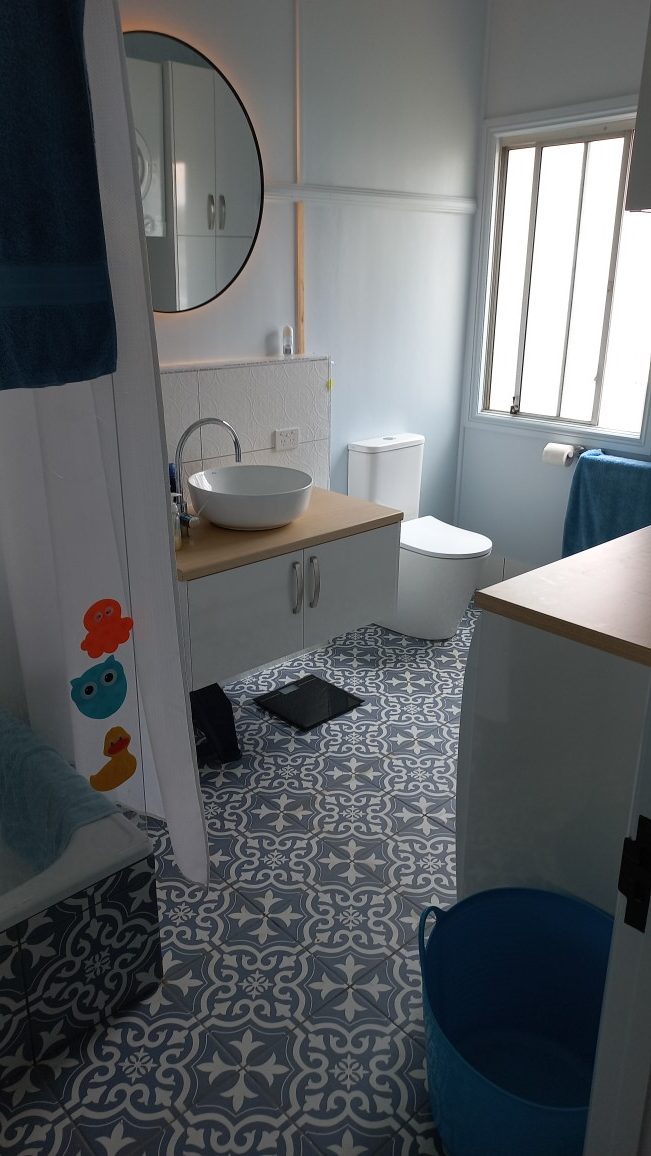
Still some work to do before we can call it done. I love how the eclipse mirror offers a lovely view of the dryer…
We got to work using the jackhammer to get rid of the vast amounts of concrete and using the ‘destructinator’ (reciprocating saw) we cut our way through the questionable building decisions of the previous owners. Thankfully the job wasn’t done particularly well to begin with so a lot of the concrete jungle fell apart reasonably easily.
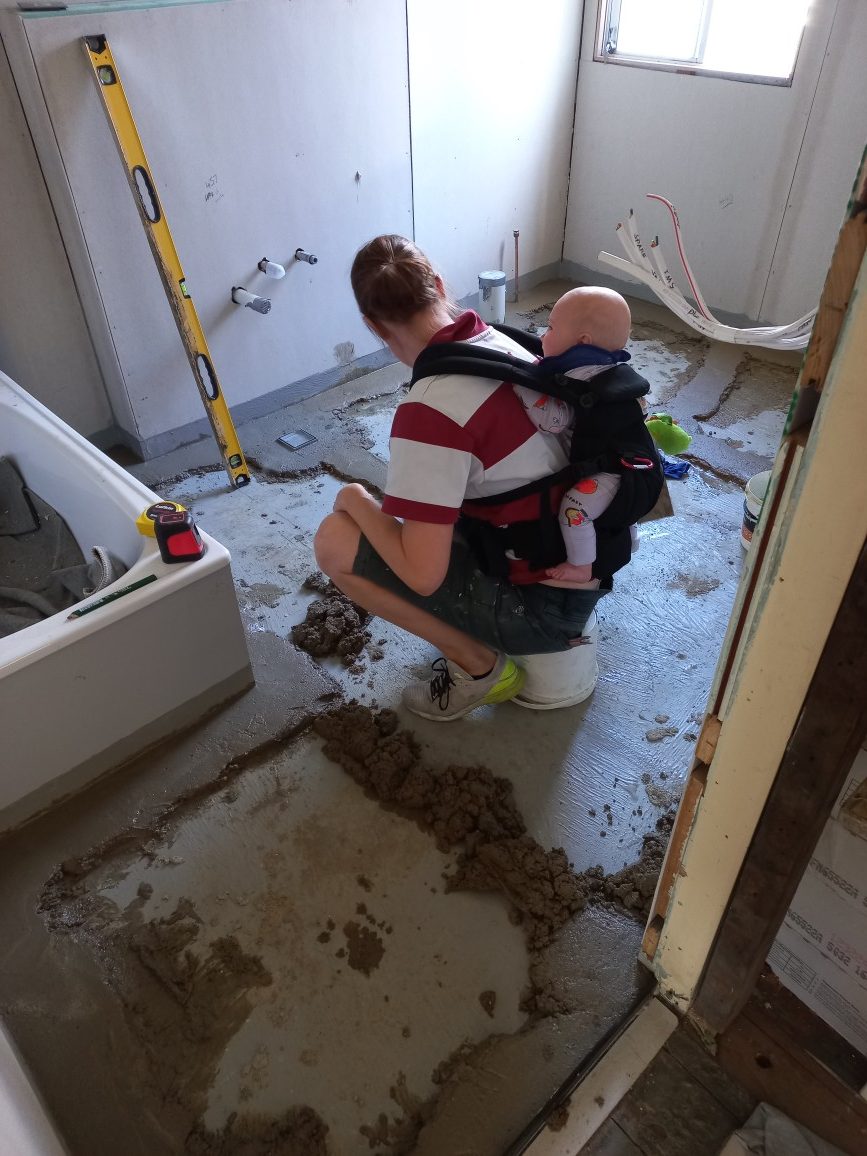
Once the concrete was gone, the water damage found was removed and new timber put in to regain the lost strength needed to install a bathtub for our son. An extra bearer was wedged in underneath the house to help spread the load in case we missed anything.
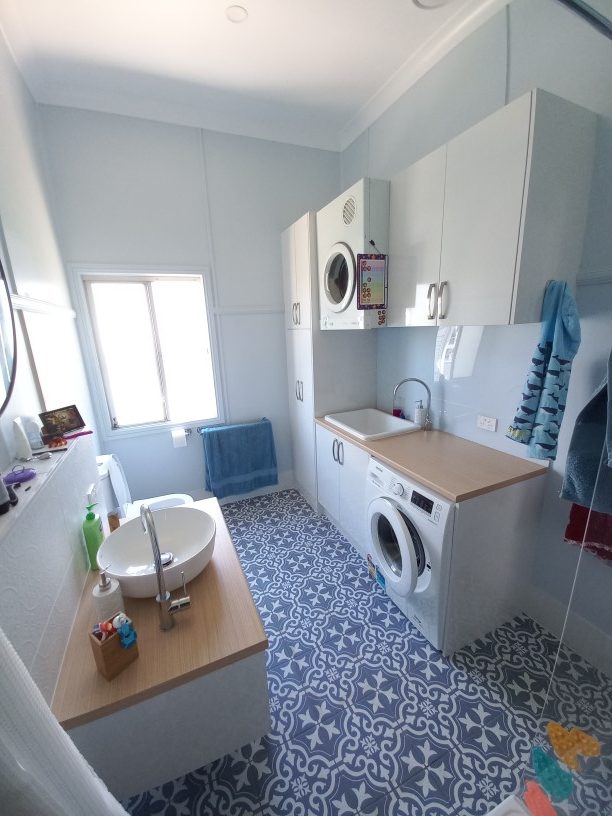
My partner Jade had designed a layout that incorporated a laundry and bathroom in one and designed custom sized cabinets to best make use of the space available. This design also utilized a bulkhead behind the vanity so that the floating cabinet would have something substantial to fix to. The original wall is a single skin timber job that wouldn’t have been up to task. The wall was further strengthened on the opposite side in the master bedroom by way of a chunky picture rail. A similar but thinner bulkhead was used in the shower/bath and in both cases allowed us to hide the plumbing.

Part way through the demolition before the concrete slab floor was jackhammered out of there. The hole in the wall was made to get rid of water damaged timber.
We made the obvious decision to have the room properly wet-sealed to prevent water damage and be kind to the next owners.
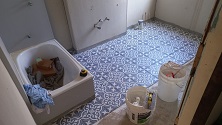
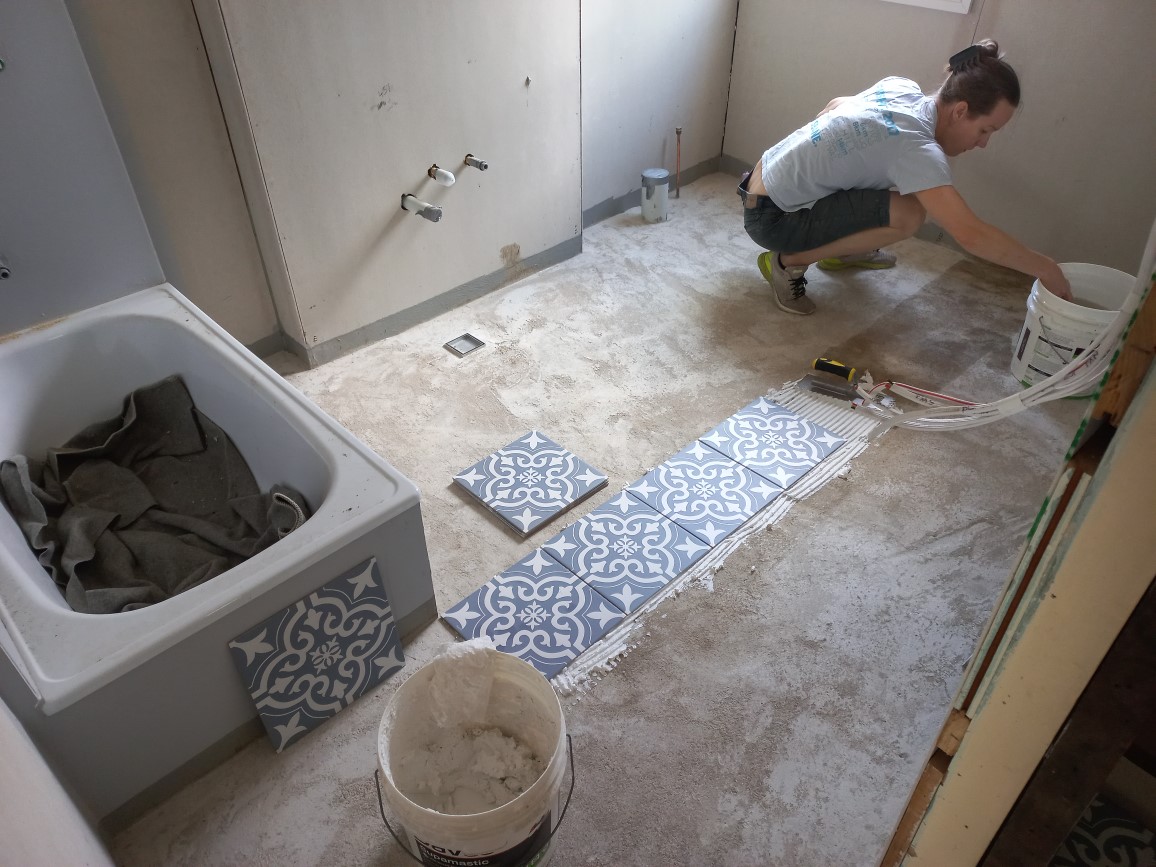
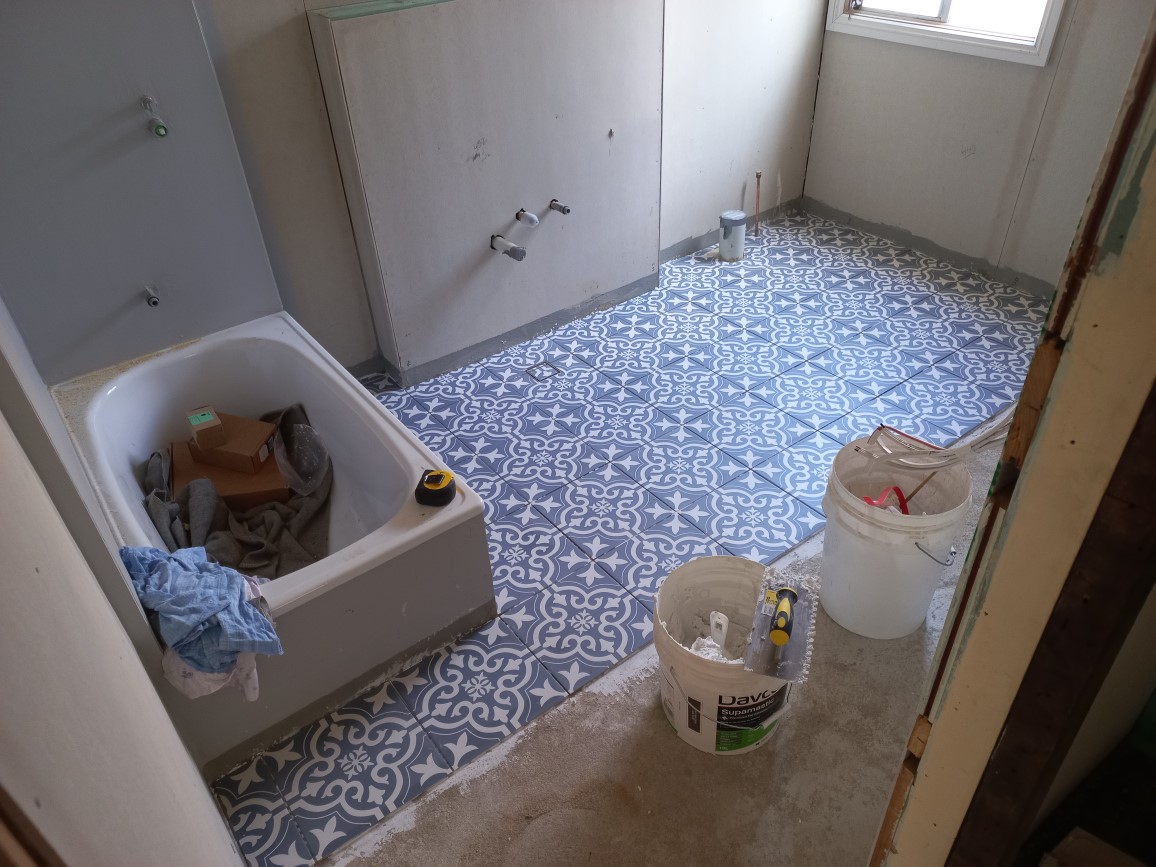
When it came to tiling, we weren’t confident doing the floor since it needed a sloped mortar bed to run the tiles down towards the drain. We got a quote from a tiler for just the mortar bed and floor tiling which came to $2800. So we overcame our fears and did it ourselves with a laser level and some google advice. Turned out to be pretty straight forward in retrospect. I’d done plenty of tiling before so that was handled easily but time only allowed us to get the floor tiled before painter came in since we had to get the timber fit-out finished before he rocked up.
We went with acrylic sheets instead of tiles on the shower walls which we did cheaply by having the sheets cut ourselves and painting them on the back side with a clear plastic primer and then the same paint as the walls. We saved another $2500 by doing it this way and haven’t had any trouble with it yet after a few months of use. We chose acrylic with the thought that it would be a bathroom for kids and should have less chance of causing injury if it failed.
The plumbing went in with no dramas since it was all easily accessible from under the house. Electrical was similarly uneventful though it was only finished a day before we moved in. I was keen to have an eclipse mirror in there which is why the timber cover strip is un painted as can be seen in some of the photos. This strip was routed out on the back to form a channel for the LED wires to make their way up to the mirror and had to be done after painting. The mirror sits a little high but I think it needs to so that the centre of the mirror sits over the picture rail, otherwise the shadow would look weird.
Actually, that picture rail is there to cover the wiring for the LEDs and is positioned to also cover the joins in the FC wall sheeting. Incidentally, the wall sheeting ended up being a mix of old and new so the picture rail covers a lot of the crimes of the previous renovators.
The rest of the tiling was done after we moved in. The vanity bulkhead was particularly stressful since we chose 600x300mm tiles that came in a box of six. We bought exactly enough for the job with no mistakes since they were somewhat expensive. Gladly we managed to get it done without any tears.
Stay tuned for the third installment of the renovation blog covering the bedrooms. There will be more renovations after that but will be a while away since Jade’s back at work and I’m busy being a stay-at-home dad and trying to run a business on the side. ‘Til next time!
Gallery - Bathroom


Pingback: The Benchy – Lannix 3D
Pingback: House Renovations – Part 1 – Lannix 3D