This is it! The final installment of our Prusa i3 MK3S+ build guide. All that’s left to do is plug in all the cables and run some calibrations and the 3D printer will be ready for action. A video version of the build guide is linked below on our YouTube channel.
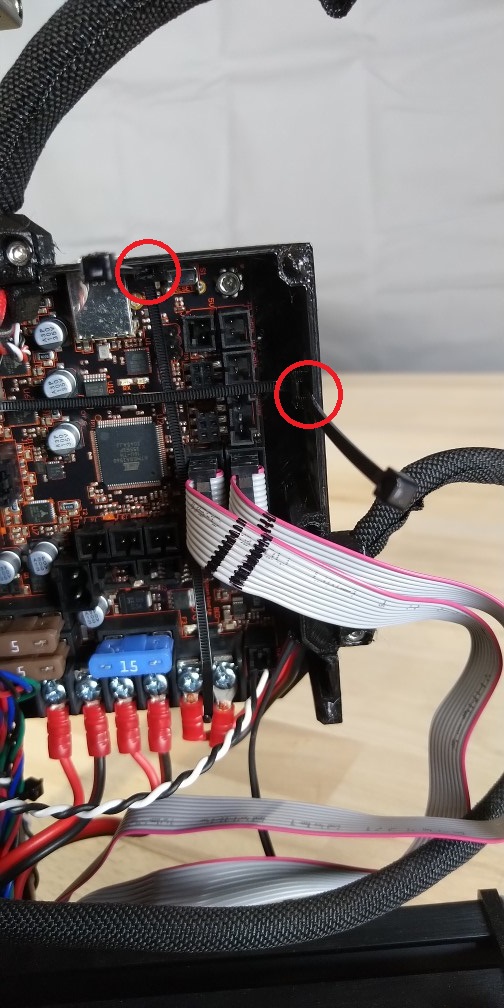
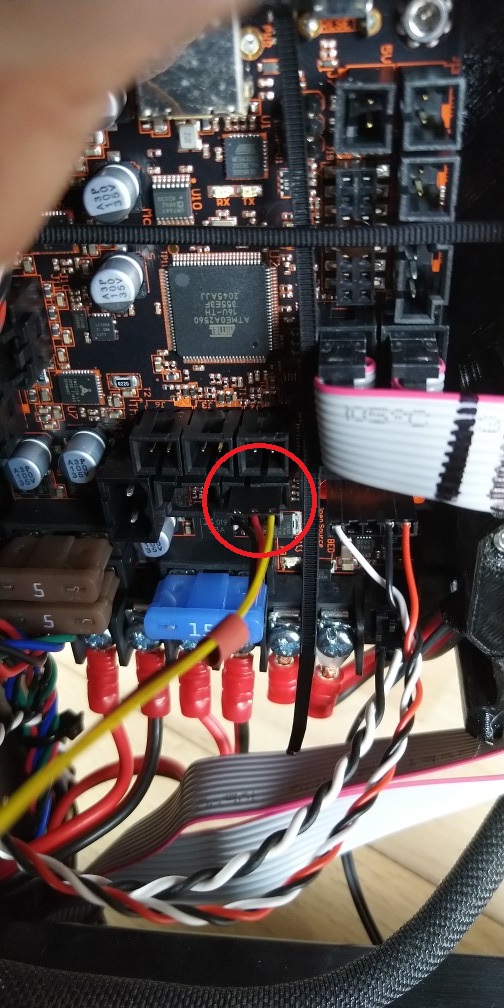
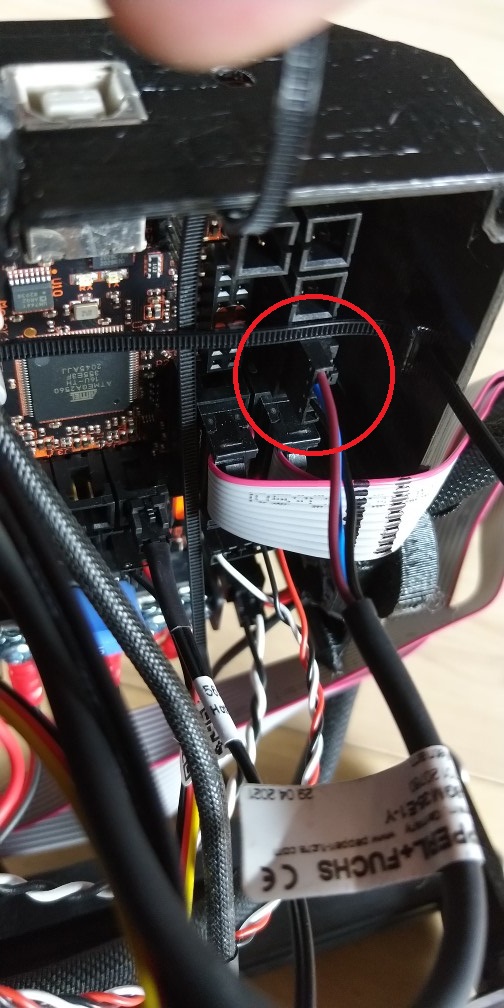
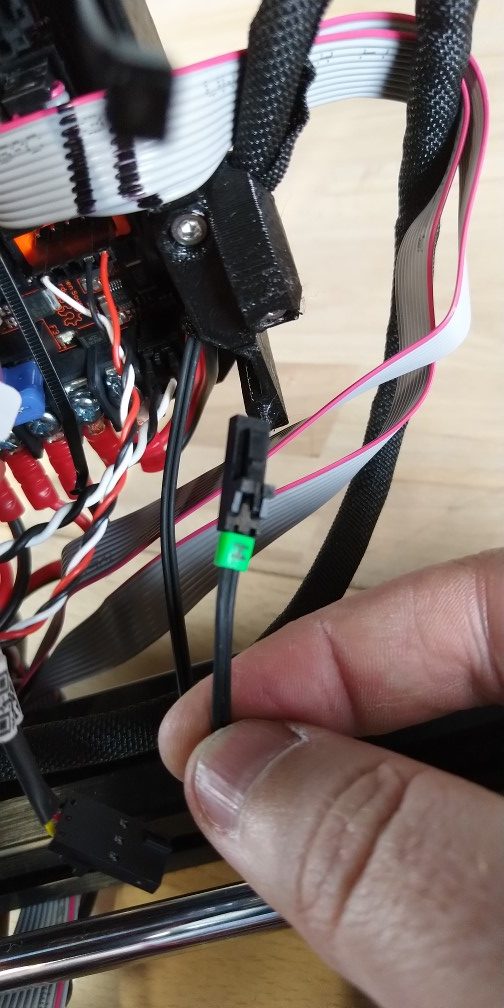
Many have trouble with the wiring process so I have attempted to highlight as well as possible where all the connectors plug in.
I hope this has been useful to those that have used this as a supplementary guide to assist with assembling your Prusa MK3. I’ll have more next week. Happy printing!
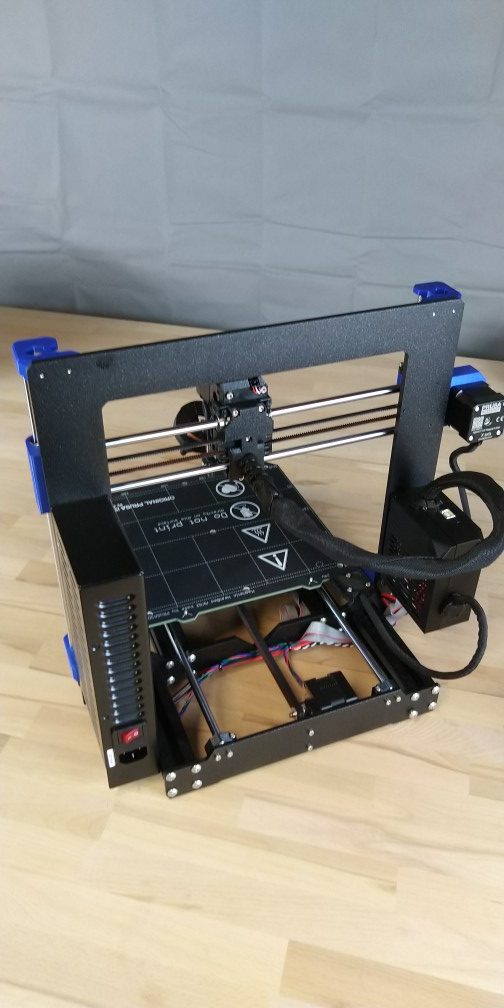
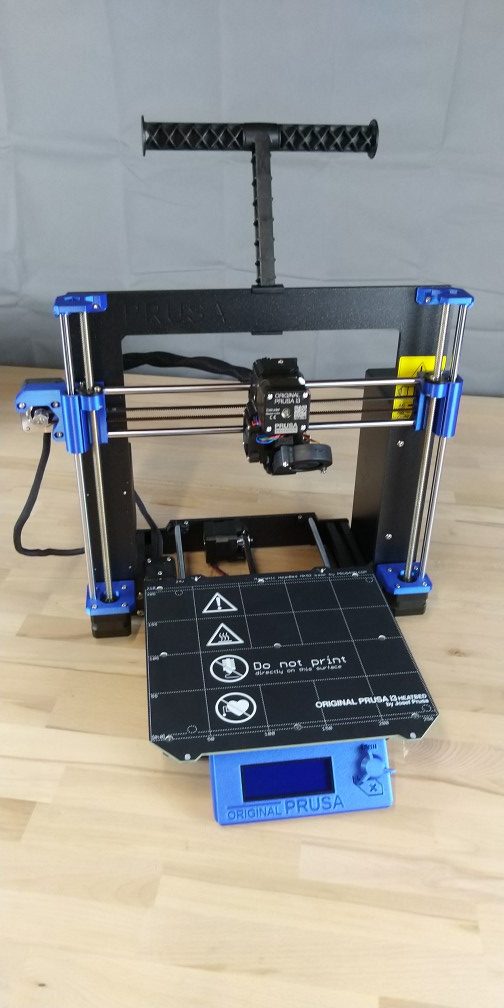
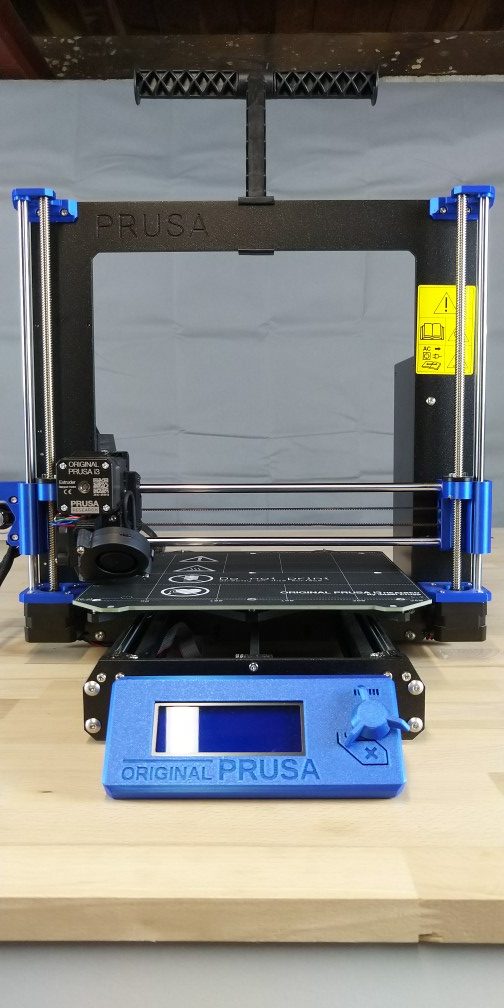
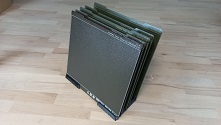
The fully assembled 3D printer, ready for calibration.
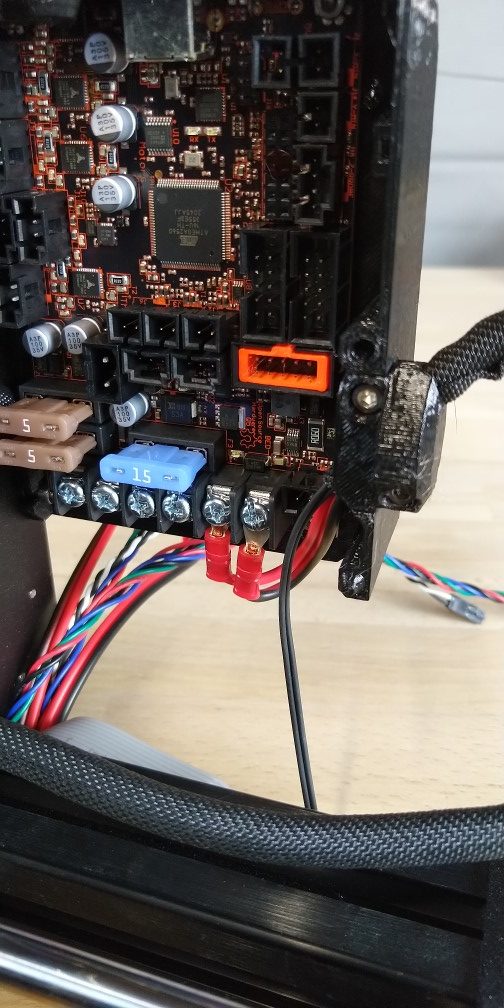
Gallery - Electronics Assembly - Connecting The Cables 1
Prusa Guide Page 114 (Step 21)
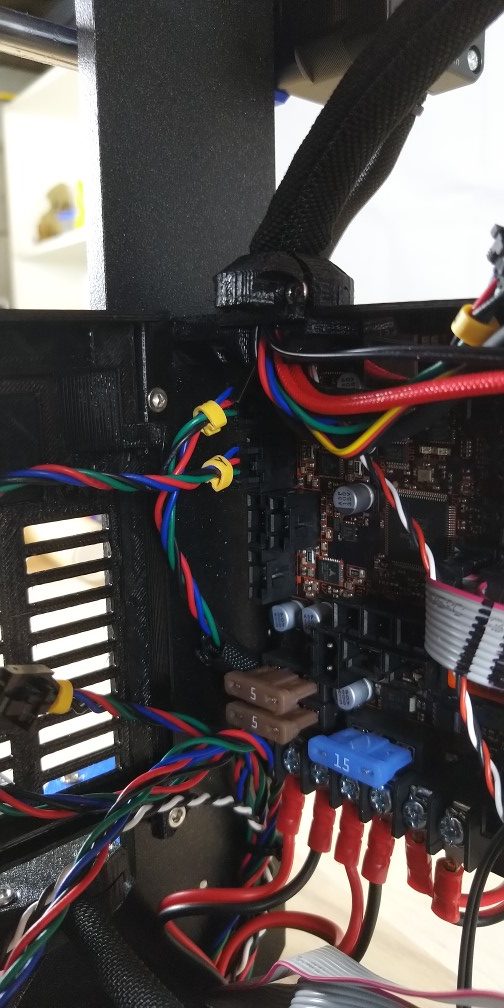
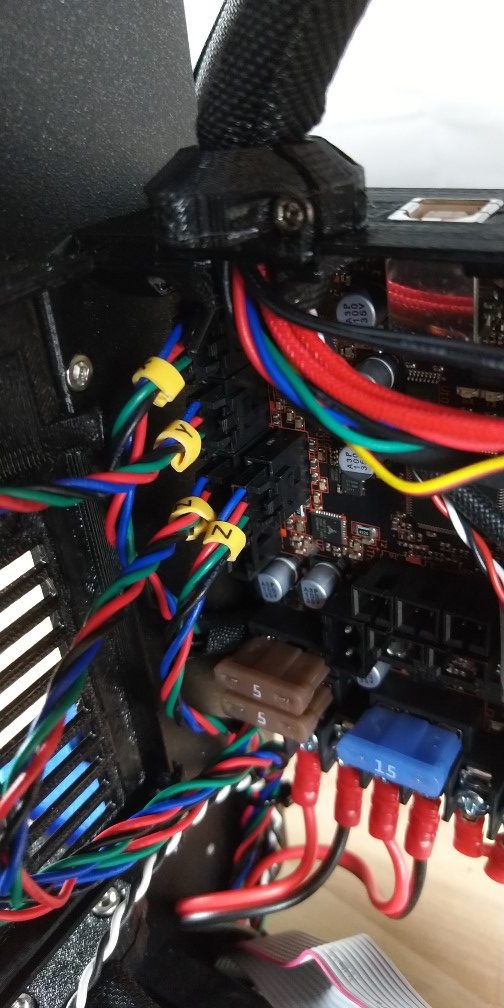
Gallery - Electronics Assembly - Connecting The Cables 2
Prusa Guide Page 121 (Step 34)
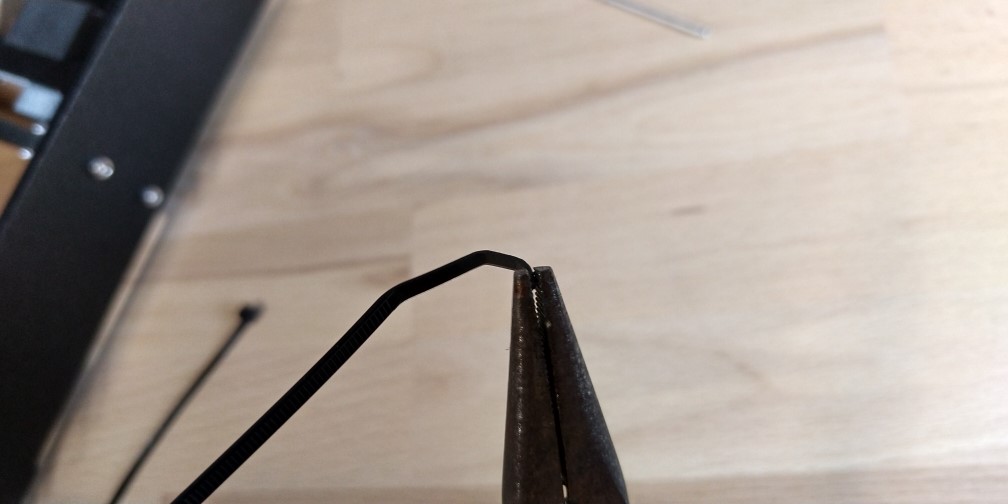
Gallery - Preflight Check
Prusa Guide Page 128 (Step 1)
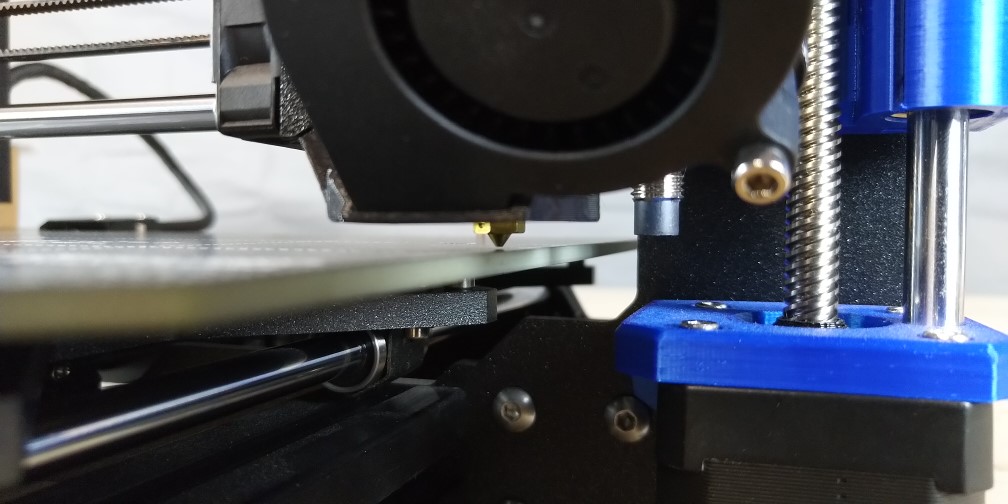
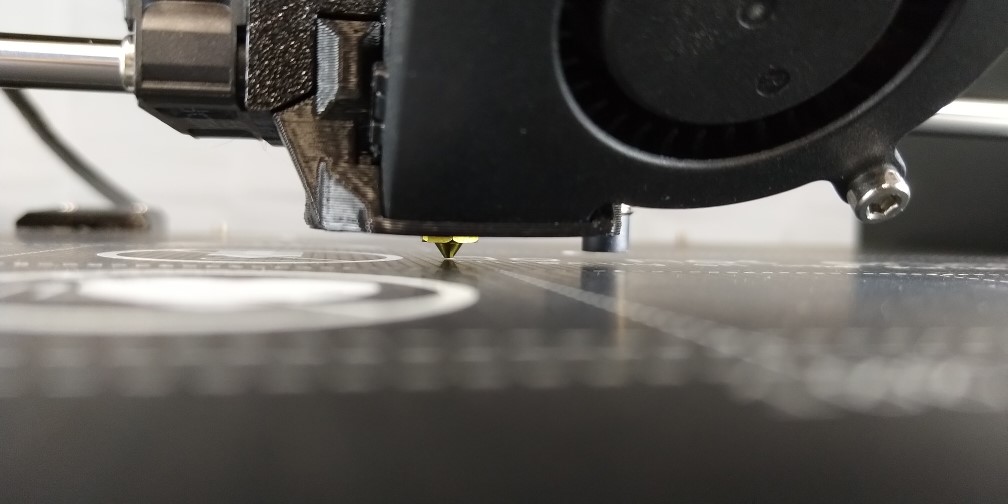
Video - Z Height Calibration
Now that the 3D printer is fully assembled and the Preflight check is complete, you can run through the calibration process. Plug the printer into mains power and turn on the switch. You’ll be prompted to run the automatic calibration sequence which takes around ten minutes and is super simple. The final step is the Z height calibration shown in the video below.
Timelapse video of the Z height calibration sequence.


Pingback: Prusa i3 MK3S+ build guide – Part 7 – Lannix 3D
Pingback: Minkara Architectural Model – Lannix 3D