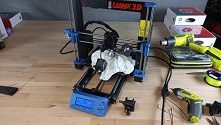
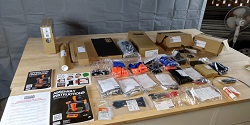
The blue Prusa we built for the assembly guide blog has been working nicely for a while now. There is always room for improvement though so we’ve decided to showcase this little upgrade that has proved to aid in print quality on our other Prusas.
Reasoning
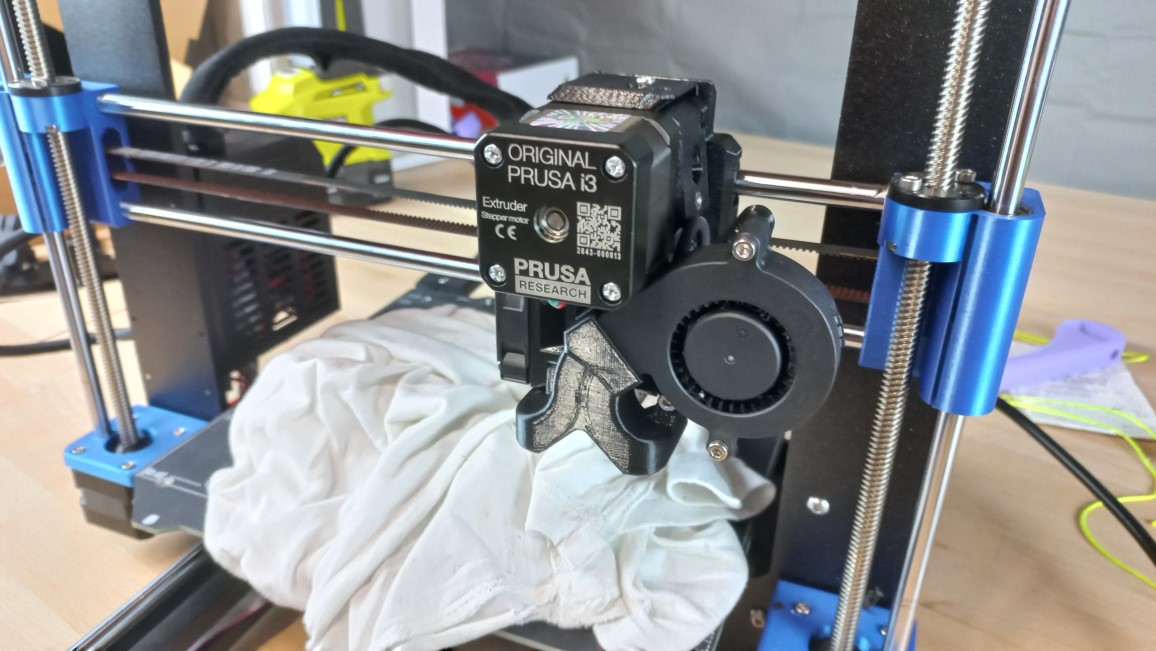
To obtain the best print quality, especially when your model has overhangs, you need to cool the printed material as soon as possible after it leaves the heated nozzle. While the standard Prusa duct is adequate for most jobs, gains can be had by replacing it.
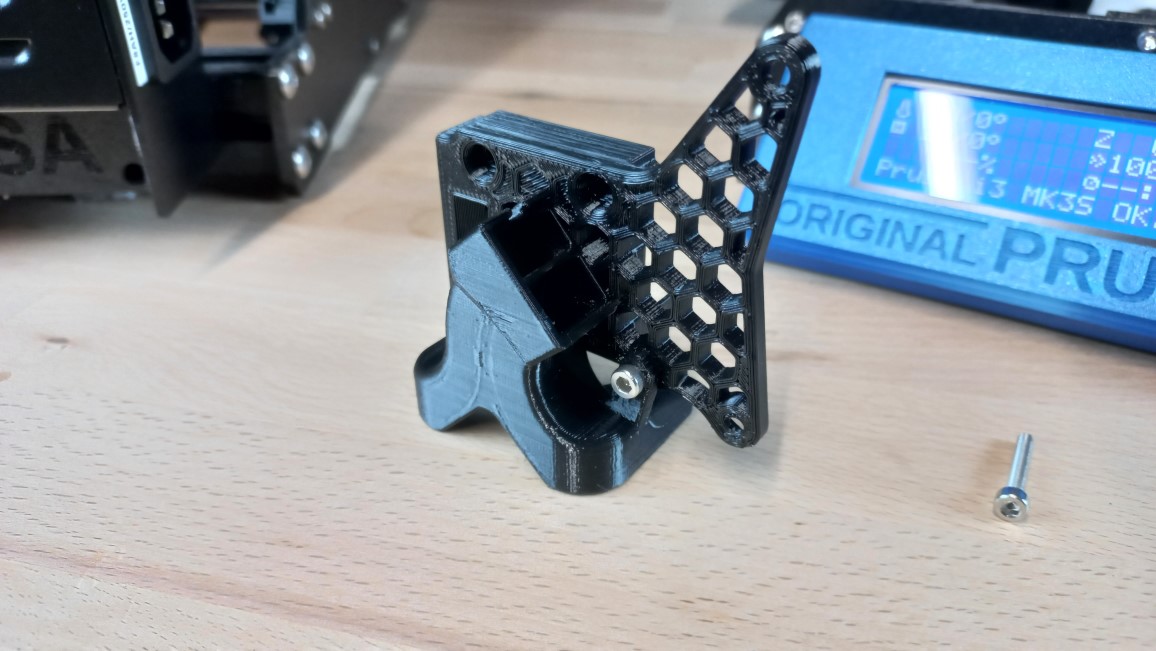
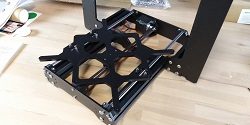
This air duct assembly by teookie on Prusa’s Printables.com was designed using CFD analysis to predict air flow characteristics and is designed to replace the standard Prusa ducting. Instead of the air flow coming from one just the front of the standard duct, the replacement part has the flow split into two and directed from either side of the print area. When printed in a high temperature filament such as PETG or ABS it is able to withstand the heat of the hotend.
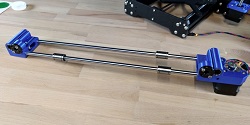
Disassembling the standard cooling fan brackets
The upgraded part found on Printables.com
Conclusion
This is a simple upgrade for anyone who owns a Prusa Mk3S or MK3S+. It requires no wiring or special tools. In fact it uses only some of the spare nuts and bolt that you will have received with the printer. The cost is only a few cents worth of filament and about 15 minutes of your time.
I’d recommend doing this for anyone with the Prusa. Click on the screenshot above or the Printables.com link below to download the 3D models.


Pingback: We Are Australian Made & Owned – Lannix 3D