

House Renovations - Part 1 Lounge & Kitchen
1st February 2023
As you may already know, we have recently bought a new house and consequently a new workshop/office for Lannix Design. During the past few months we have been busy renovating the house upstairs since we had three months left on the lease for our old place. I realise that renovations have little to do with CAD or 3D printing but I think many may find this interesting anyway.
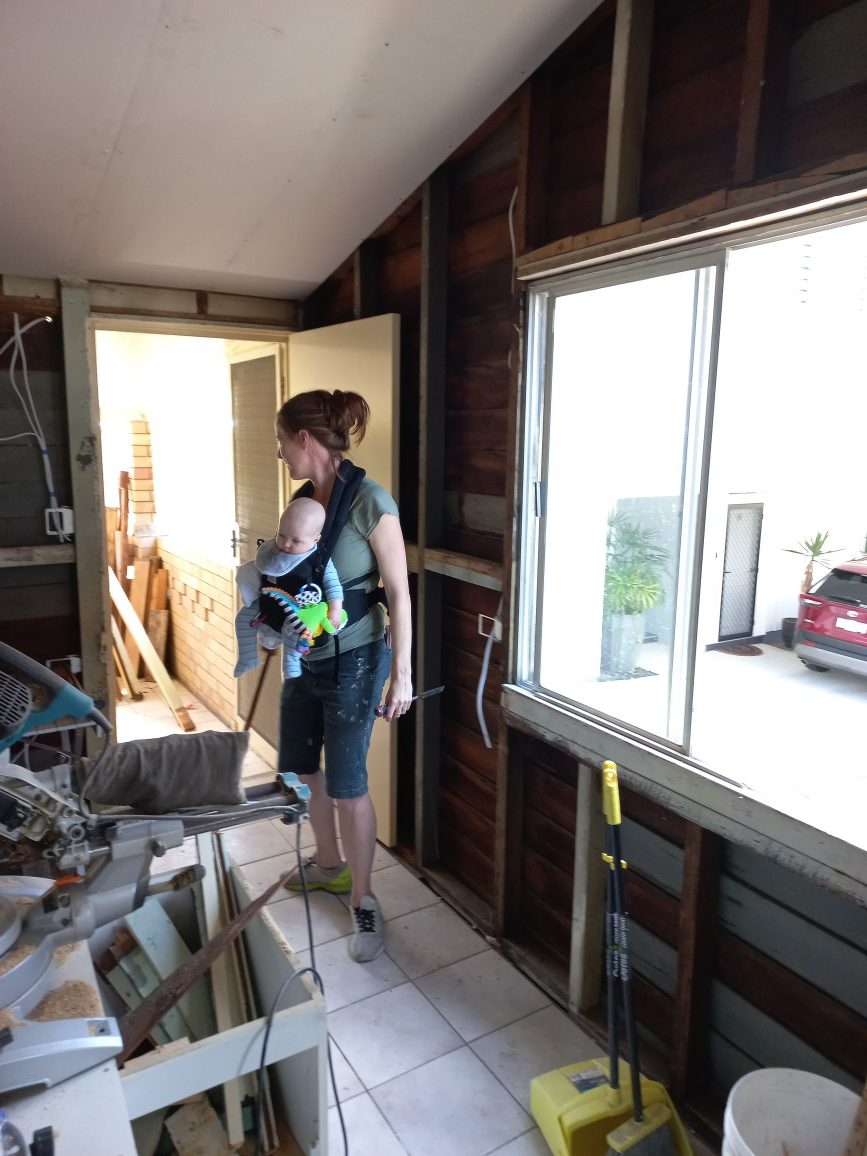
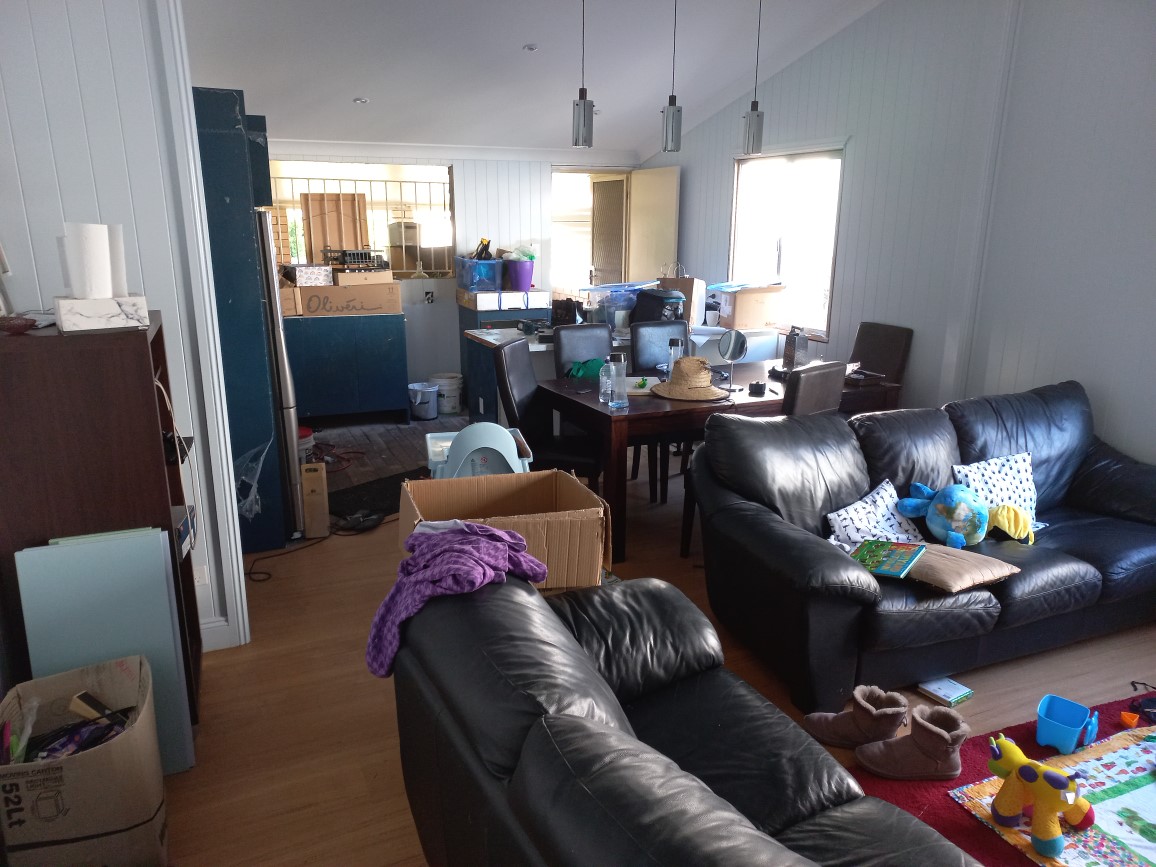
Luckily my partner Jade and I had experience renovating houses before so we could do most of the work ourselves with a little help from some tradies we knew and my parents. It was no easy feat, especially with a newborn baby to take care of and many people telling us it couldn’t be done but we managed to get the place in a habitable condition before we moved in on the 1st December.
As there is a lot to cover with the renovation I’ve decided to break it up into smaller parts so as not to overwhelm. I’ll make a separate post for the bedrooms and the bathroom as there’s a lot to talk about.
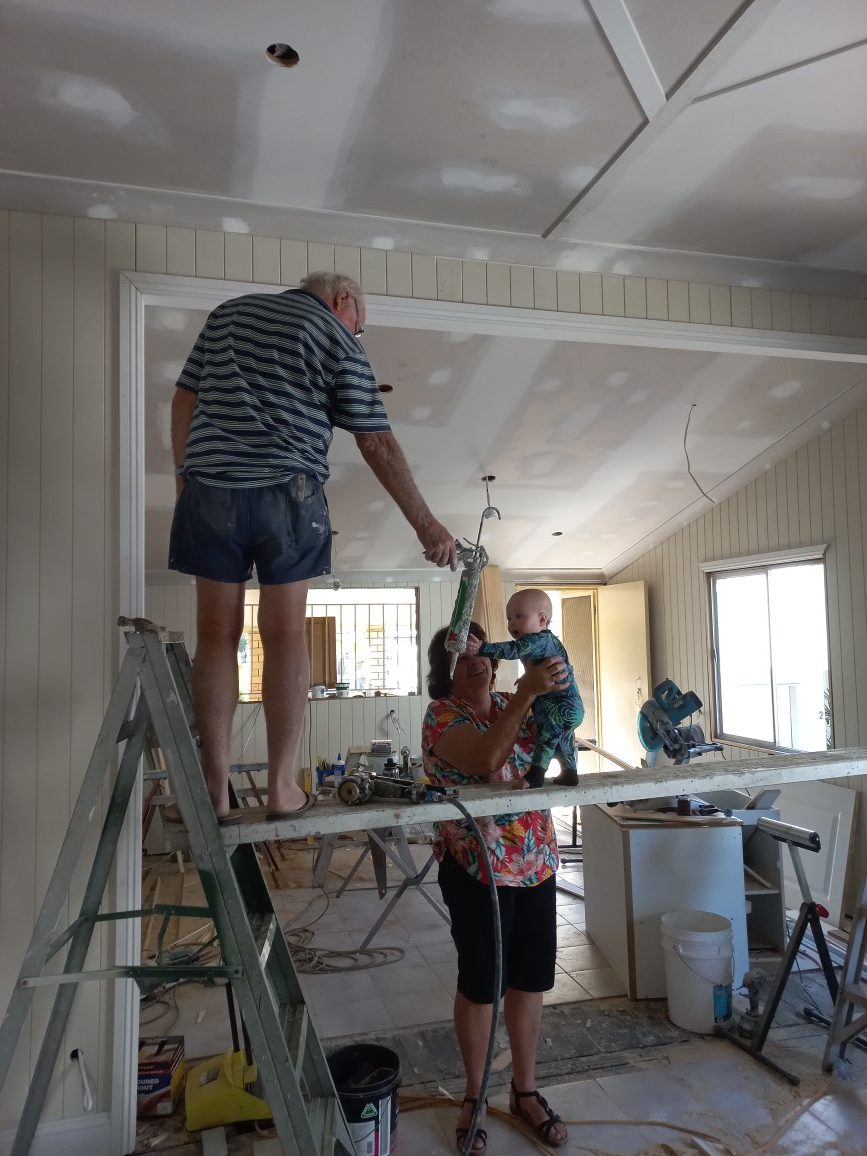
My son helping his Poppy with the paint prep with some help from his Nanny.

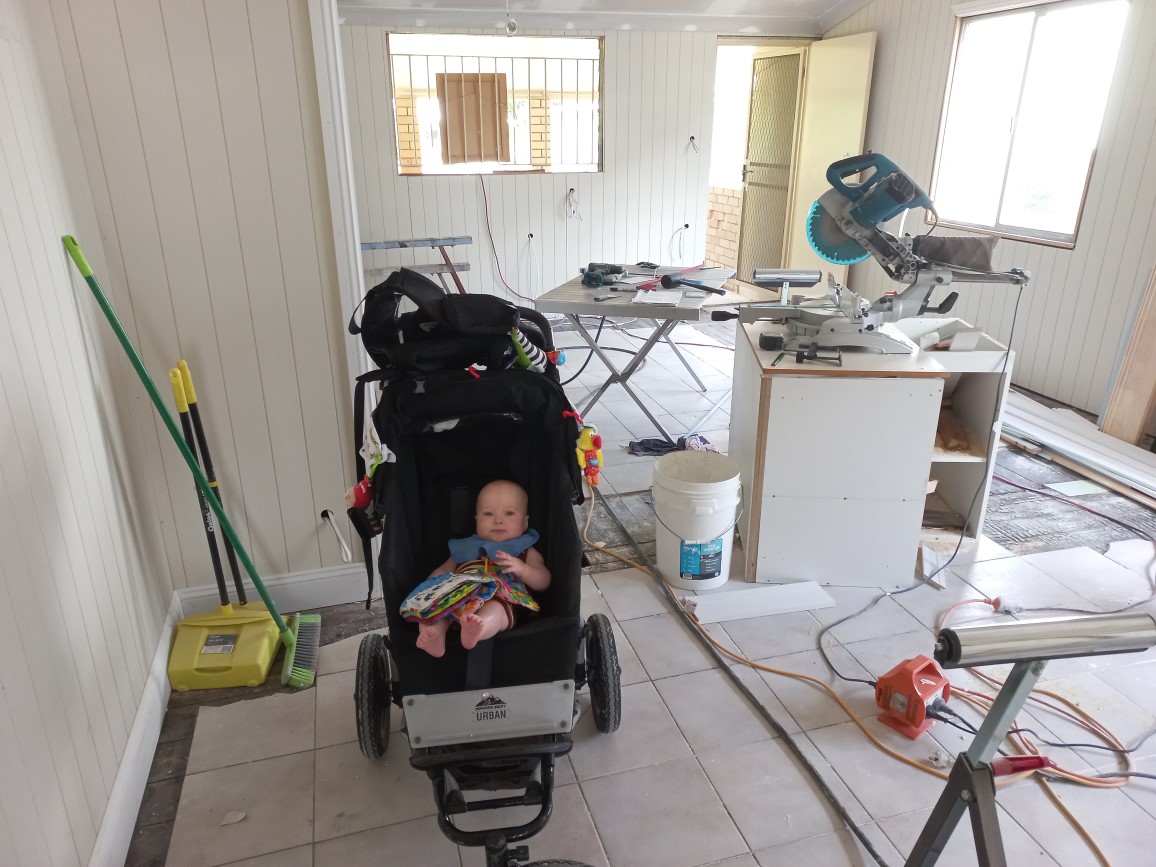
The entrance hallway that leads to the lounge room with high-tech baby gate.
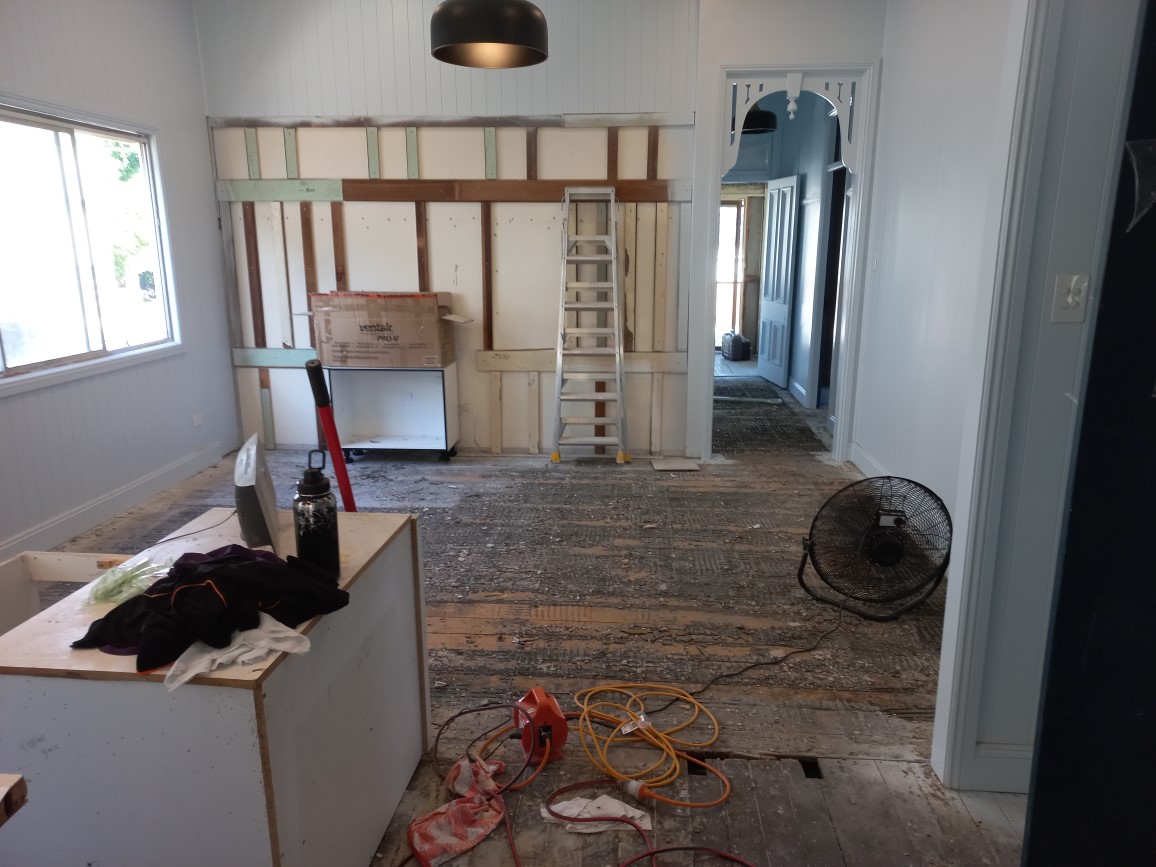
As soon as we had the key to the place we started pulling it apart. We’d been planning the renovation for a month while waiting for the sale to settle so we were keen to get into it. We knew we wanted to insulate the outer walls since we’d been living in a similar house without it and it was too hot in the summer, so the inner wall linings had to come down.
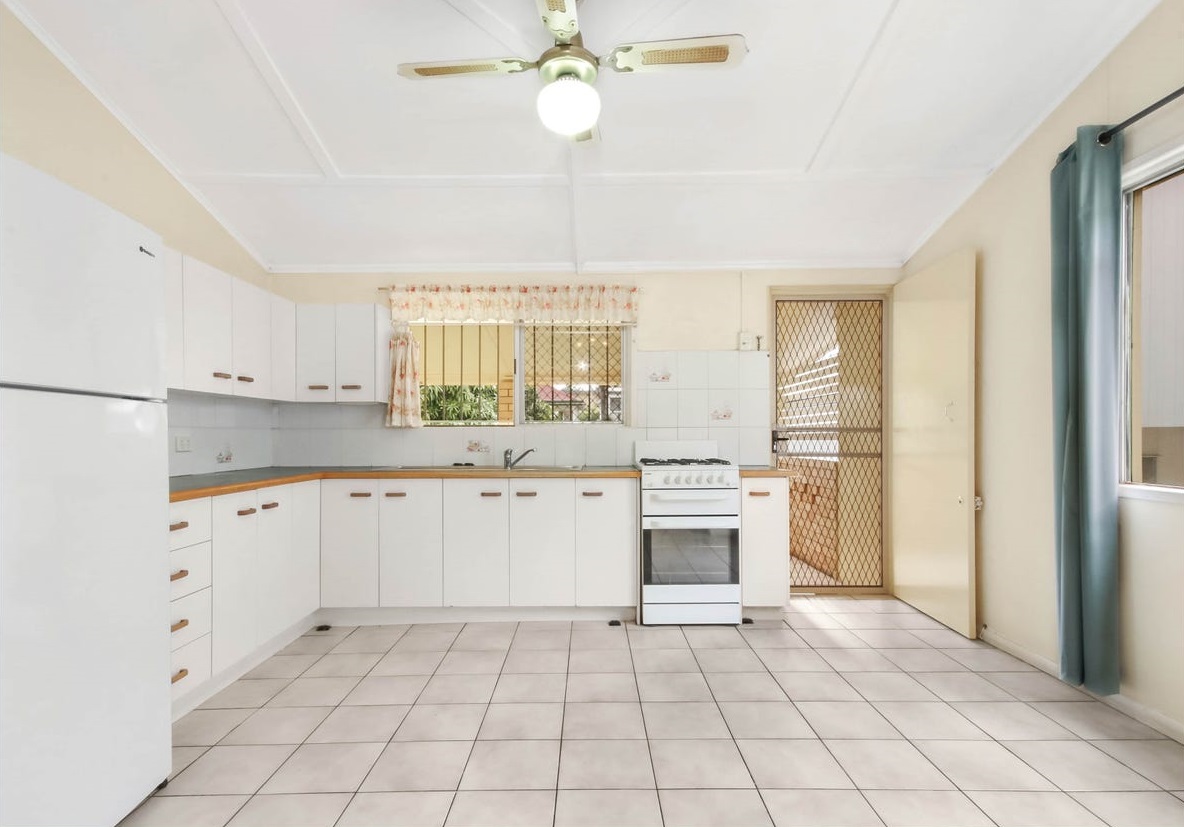
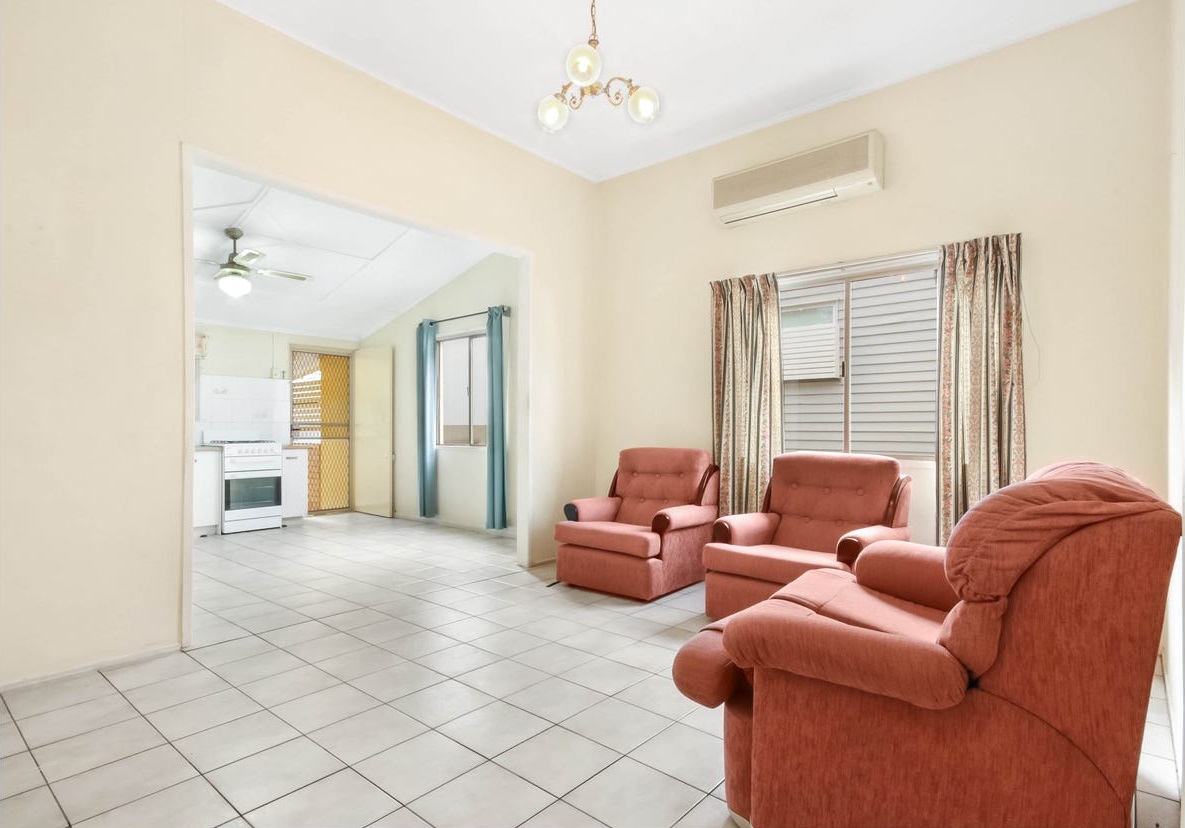
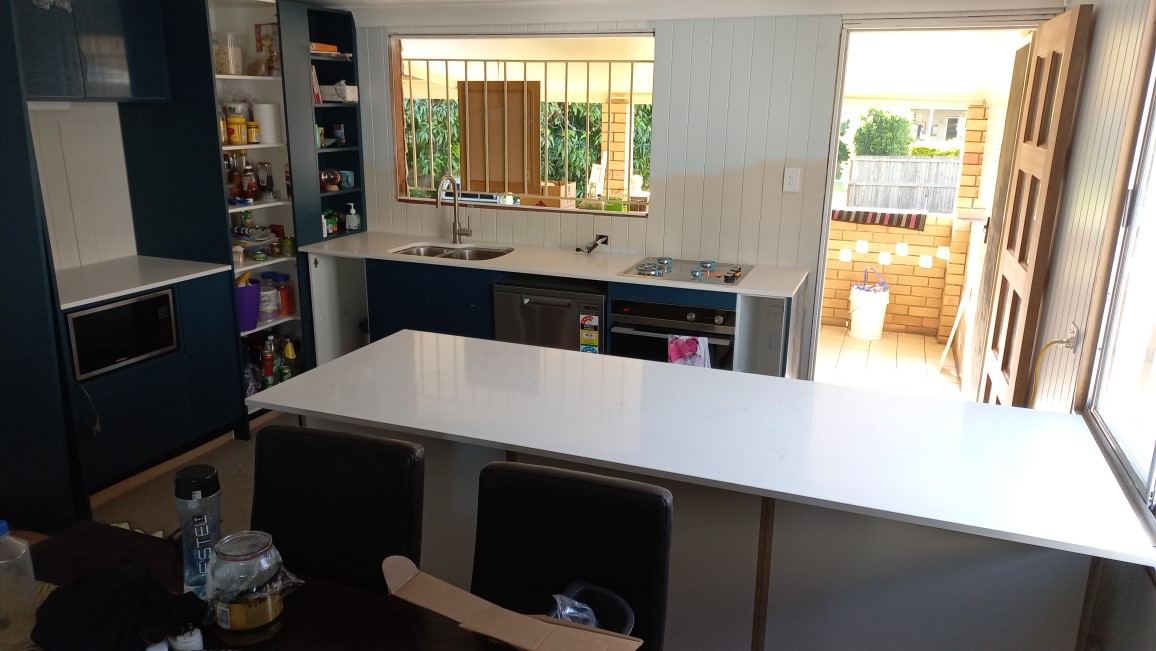
As you can see in the in the gallery below in the first couple of photos from the real estate listing, the place was in need of a spruce up. The photos actually make it look much better than it was. First job was to remove the old kitchen that was past it’s use by date. We kept all the cabinets downstairs which came in handy for tool storage while we worked.
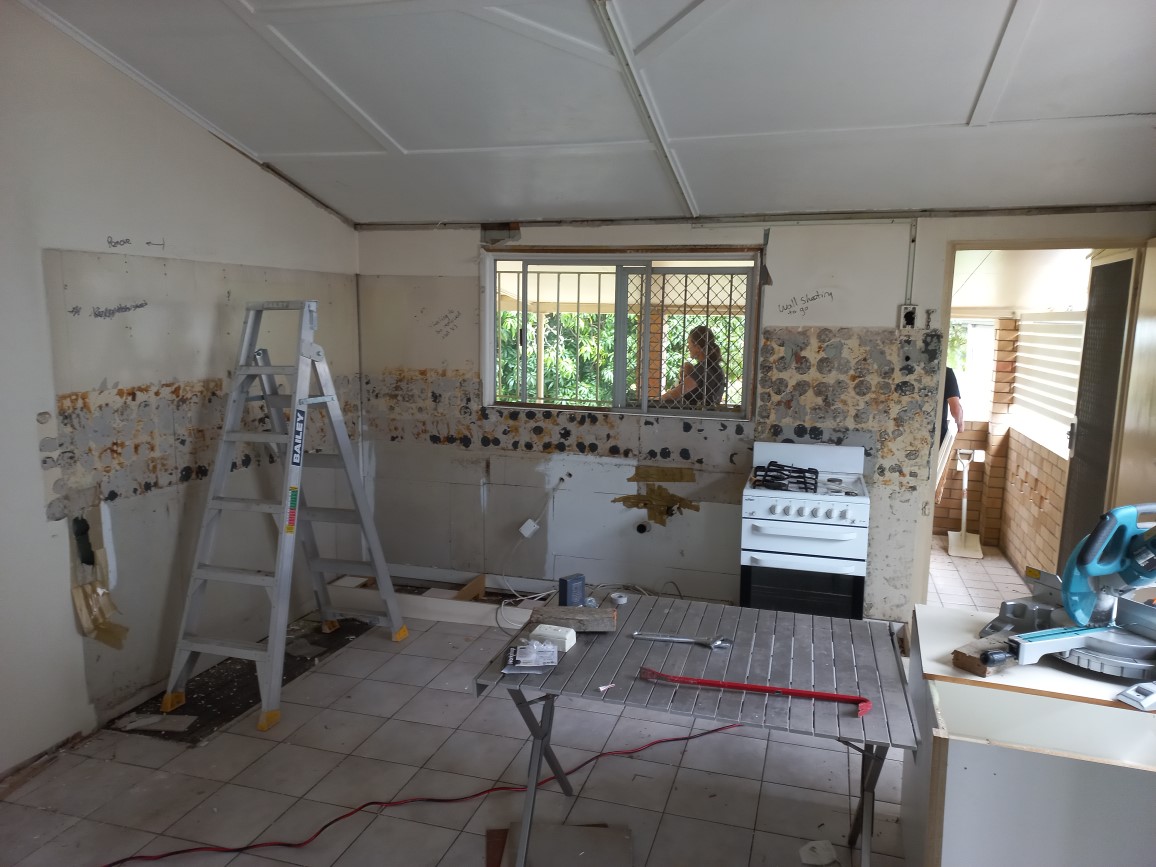
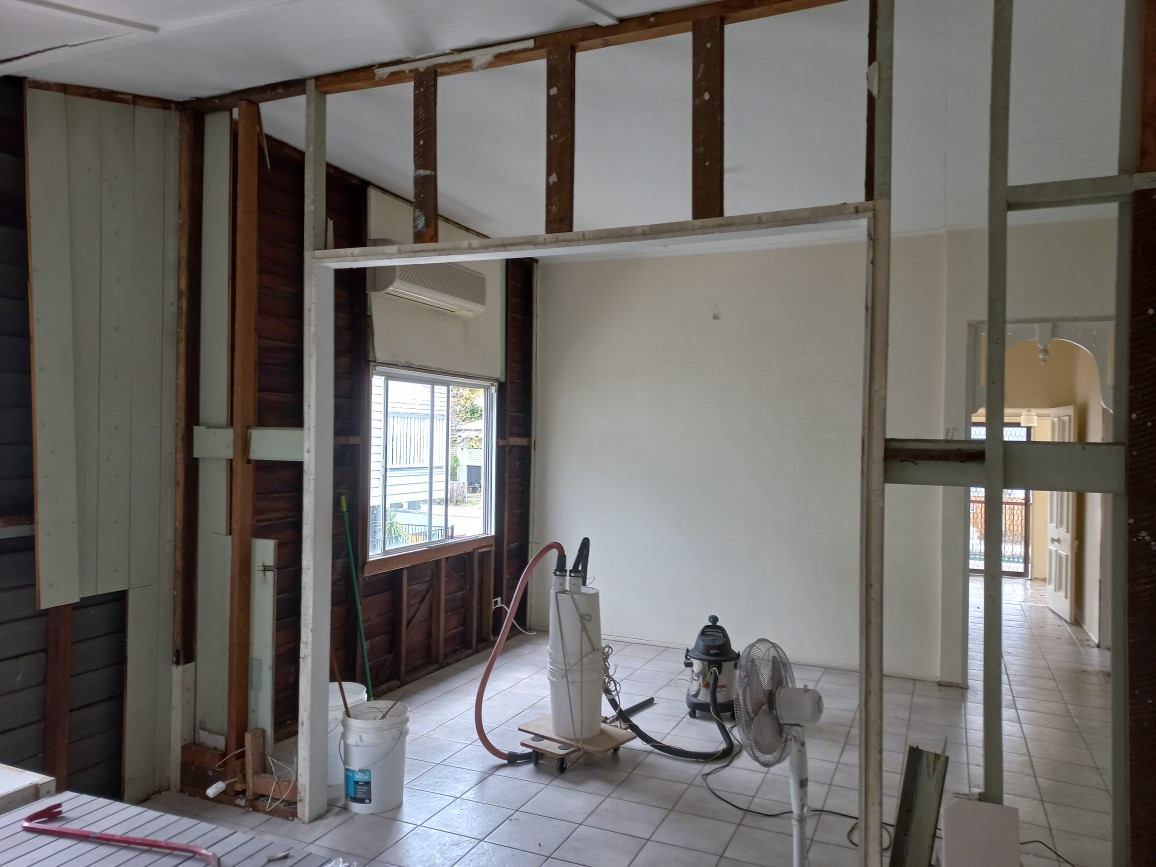
During the demolition we found fibre cement sheeting that we had tested for asbestos which came back positive. Consequently, we brought in an asbestos removal team who thankfully were able to do the job at short notice. Much of the kitchen, bathroom and front verandah walls and ceilings had to be removed.
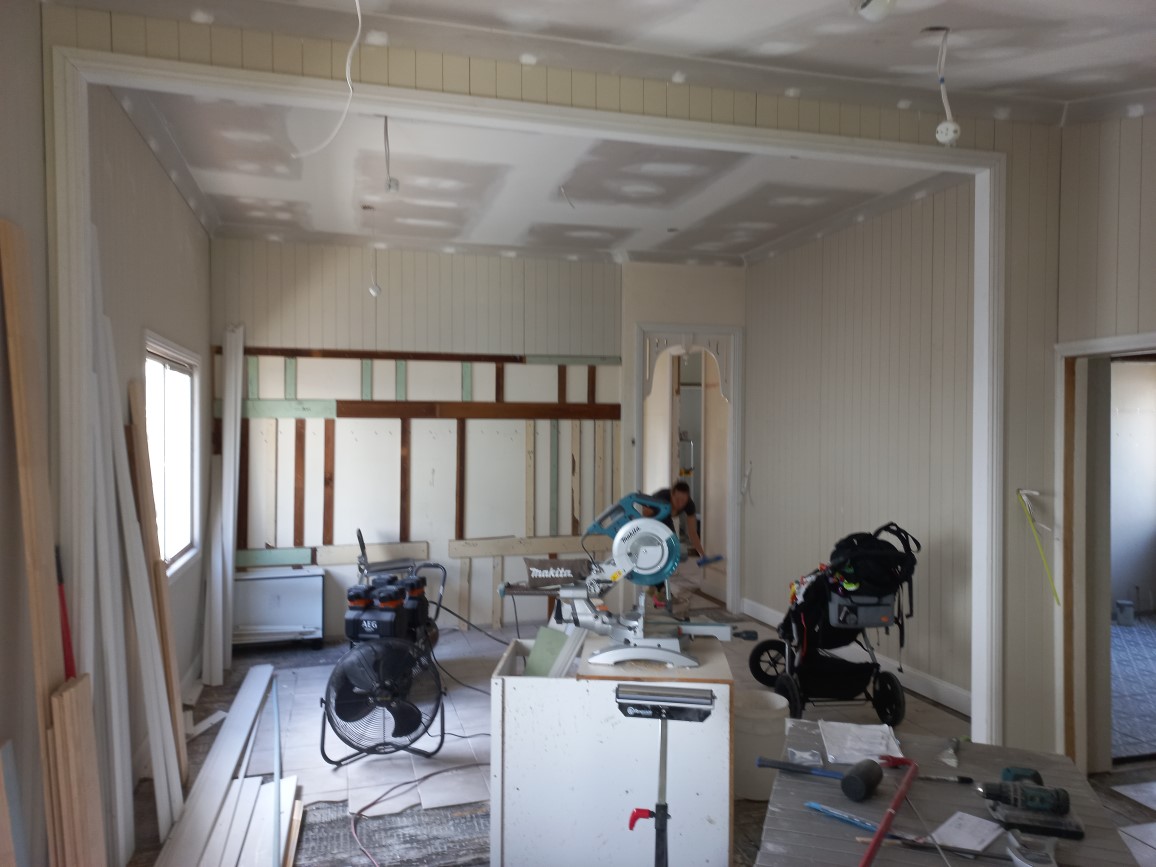
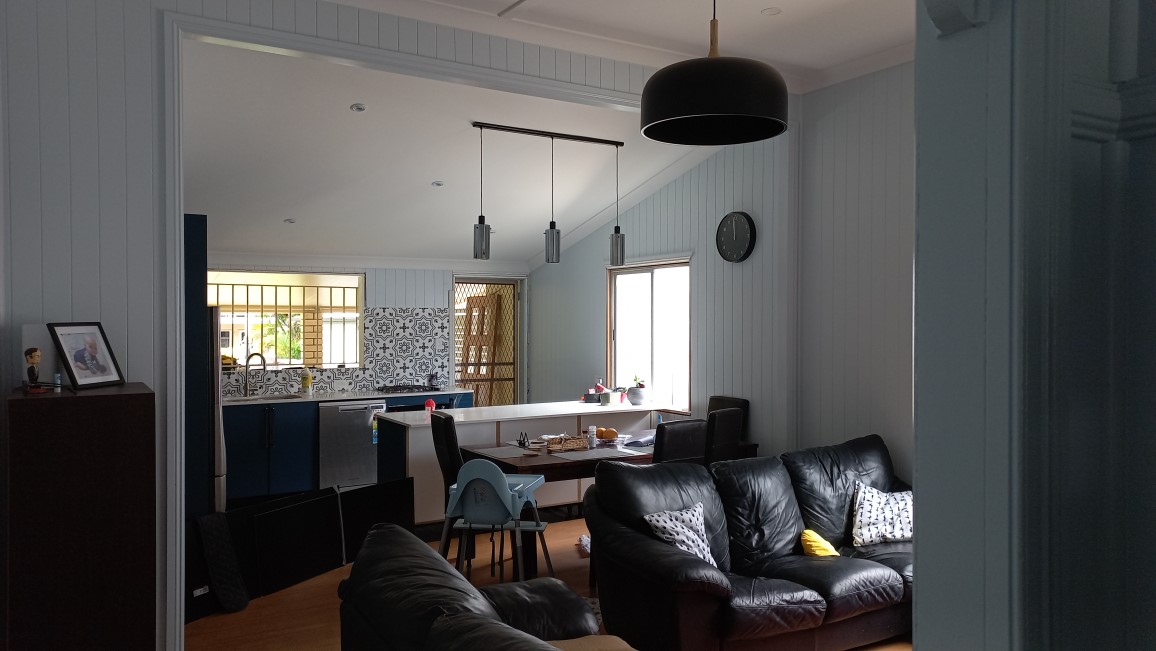
Once that was done we had our engineer come in to do an assessment of the wall between the lounge and kitchen that we wanted to open up to give a feeling of more space. The wall was load bearing and so we used acro-props to hold up the roof trusses while we installed the specified LVL beam. Turned out to be a pretty easy job.
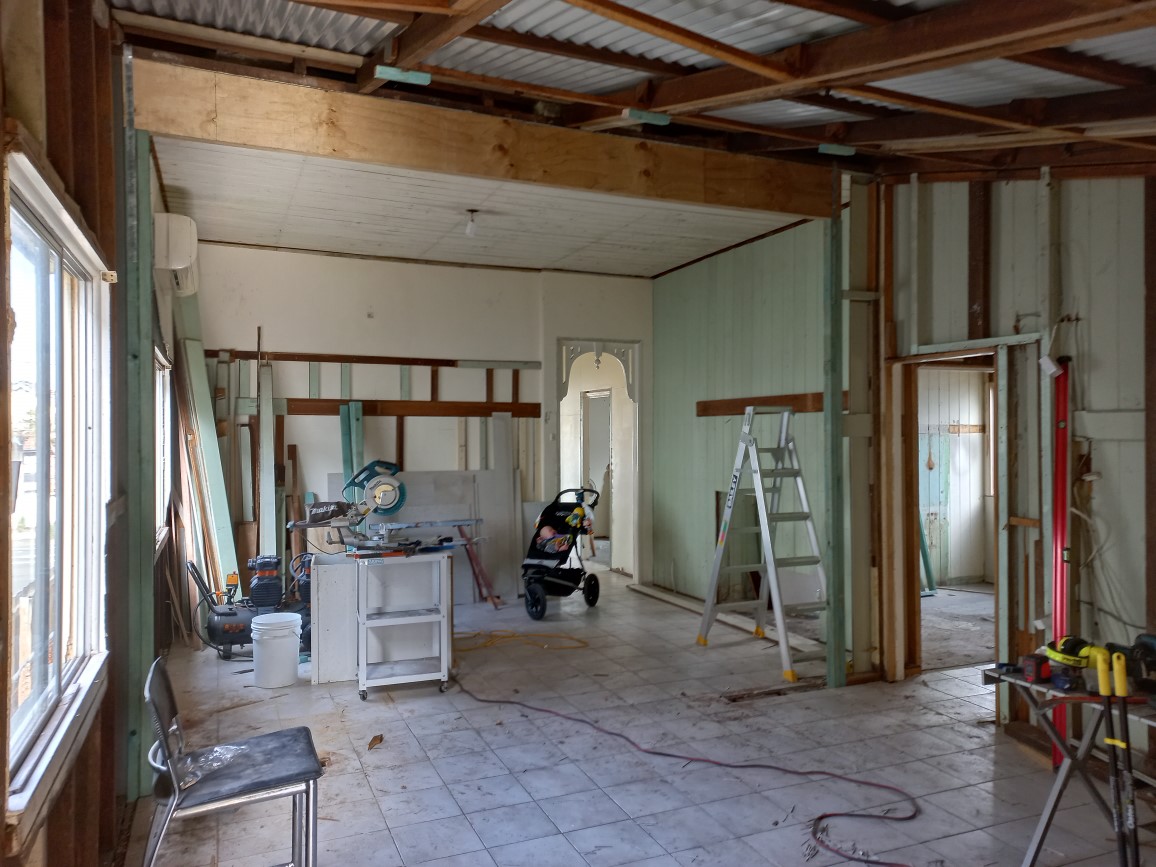
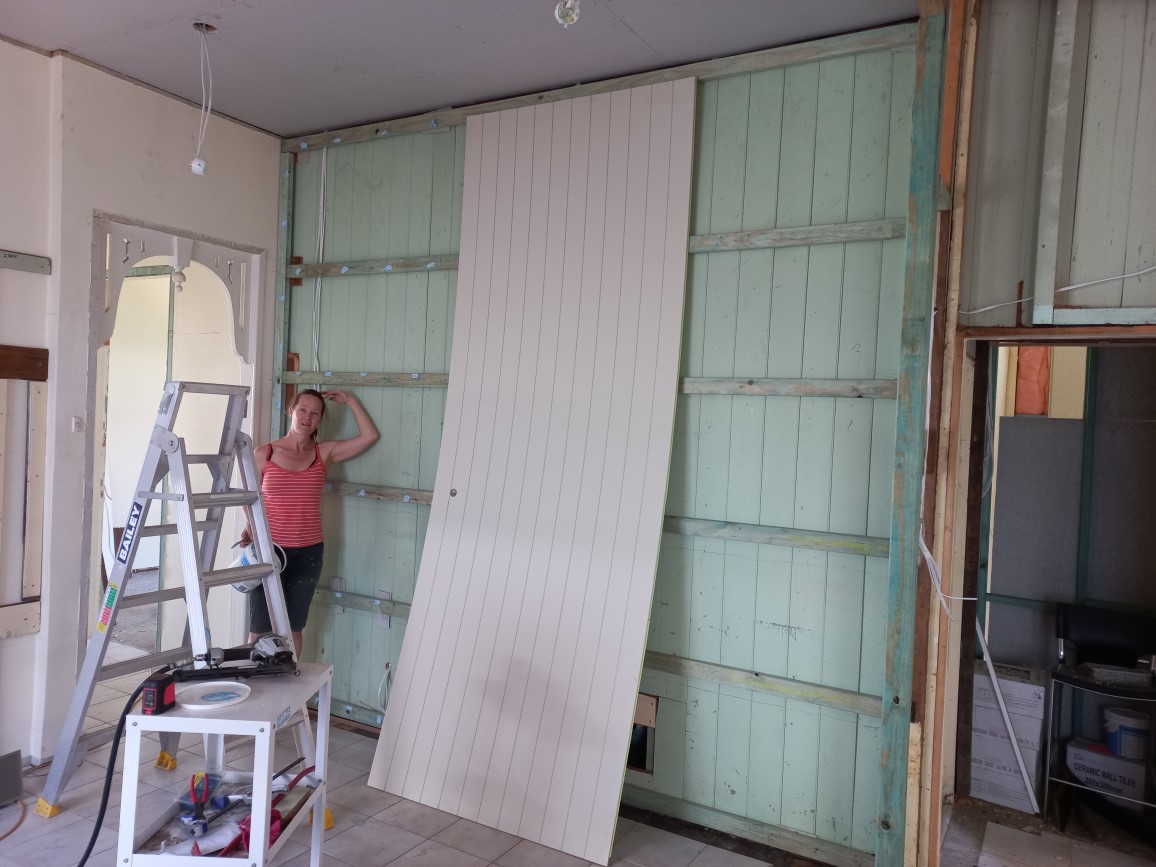
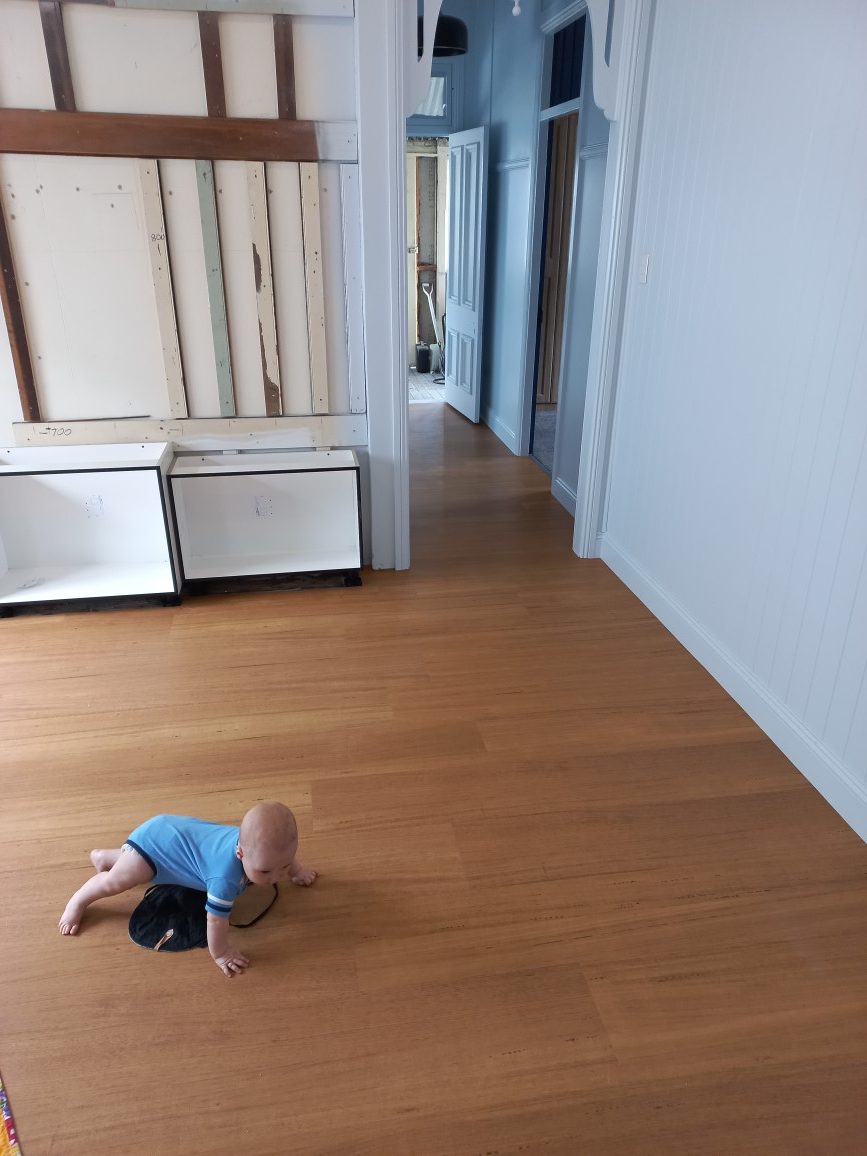
When it came time to line the walls again, we went with modern MDF vertical joint sheets as opposed to the original VJ boards. Although it’s not period correct I think it looks better and is much easier than trying to make the old boards look good by fixing the uneven joins in them. The ceilings were redone in gyprock sheets.
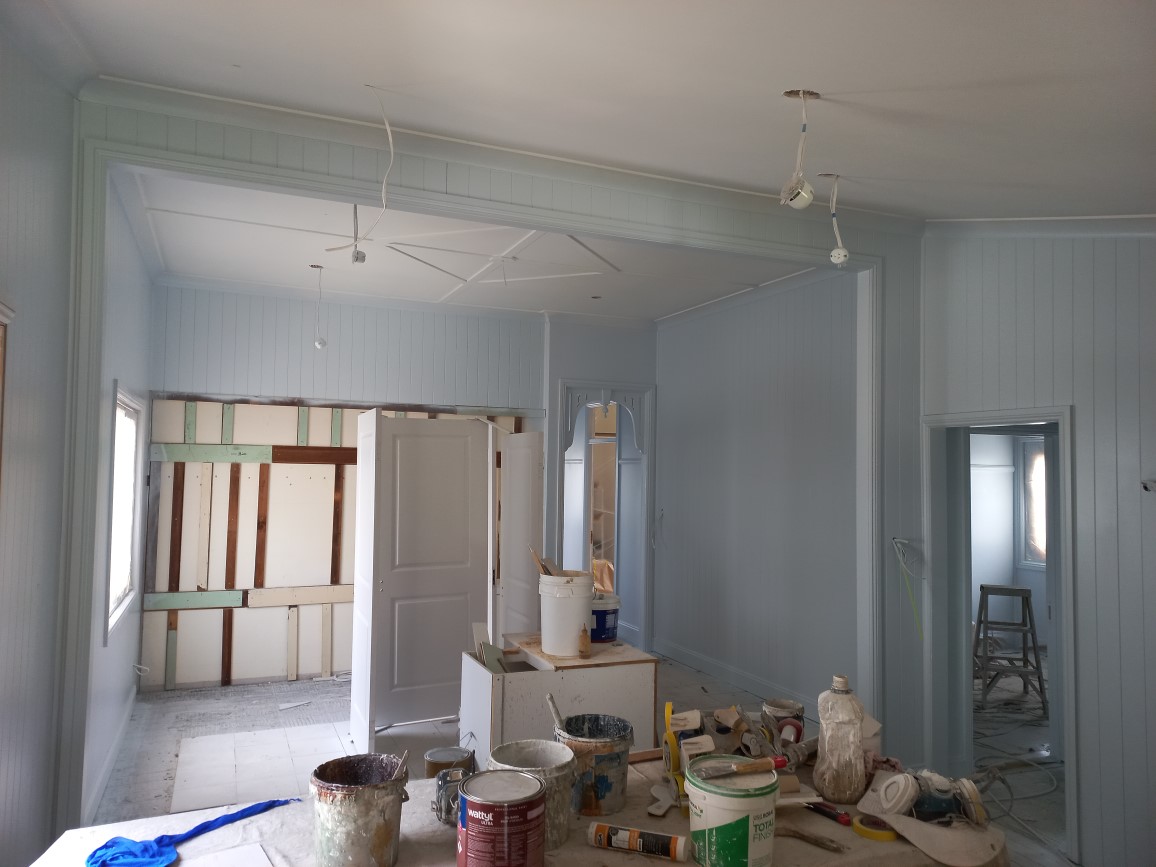
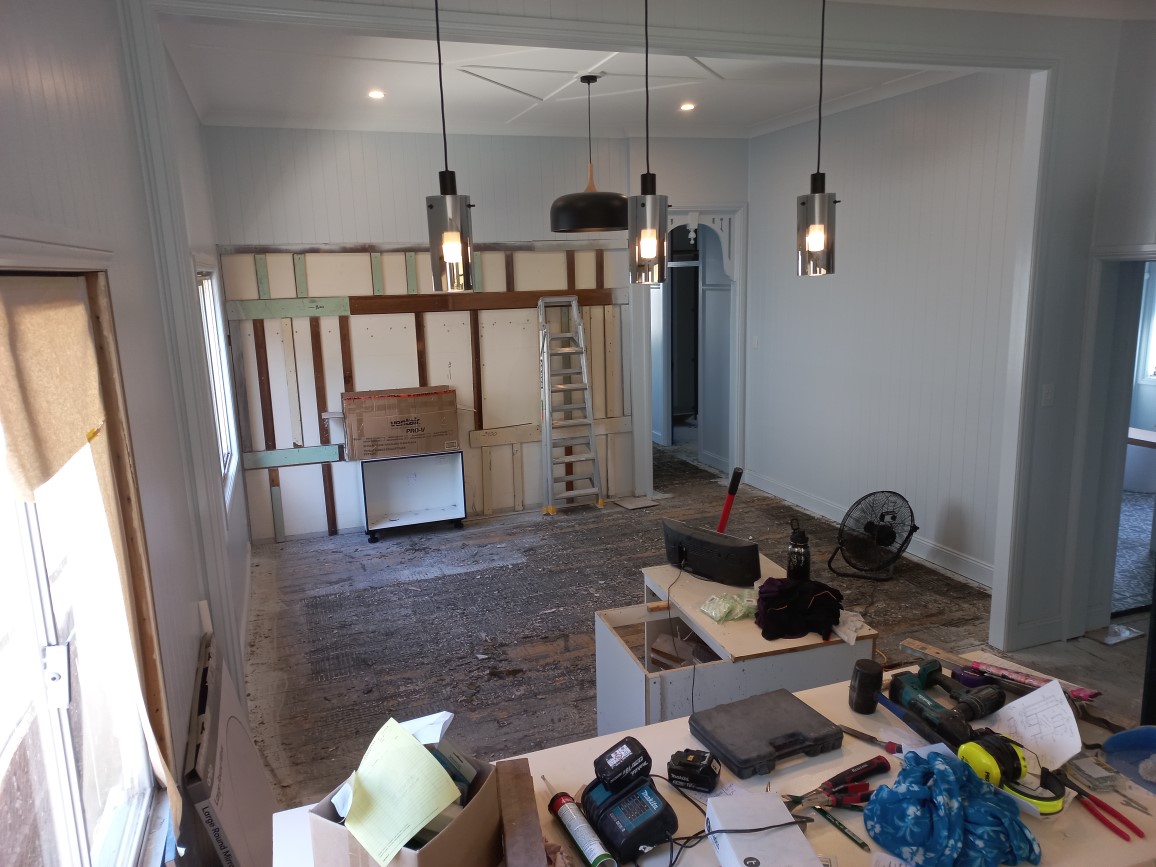
My partner Jade had been drawing up a custom kitchen and built-in robes for the bedrooms as she has done for past renovation jobs. I think she did a great job of utilizing the available space to fit the dining table and lounge and to allow enough room to move around the kitchen easily.
Paint colours were chosen specifically to get away from the white that people often choose nowadays with renovation jobs. The wall colour is Dulux pre-school quarter which I think Jade chose because it reminds her of our son! I especially love the contrast between the dark blue of the kitchen cabinets and white stone benchtops.
Gallery - Lounge & Kitchen


Pingback: We Are Australian Made & Owned – Lannix 3D
Pingback: House Renovations – Part 2 – Lannix 3D