Prusa i3 MK3S+ build guide - Part 5
7th September 2022
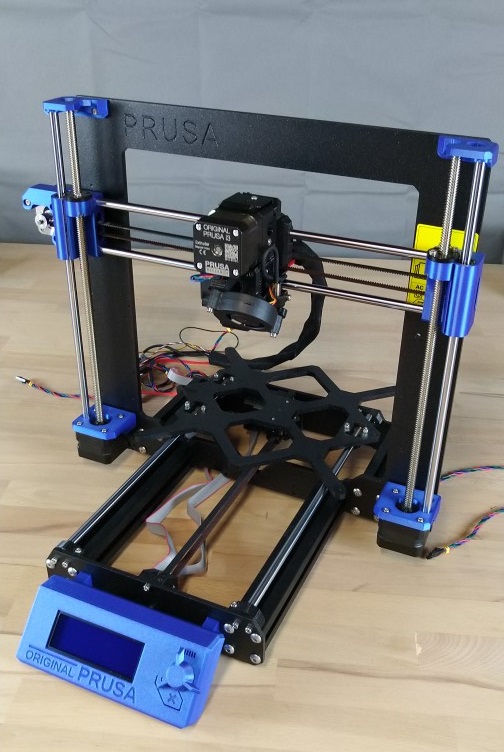
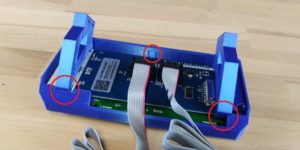
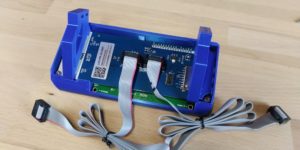
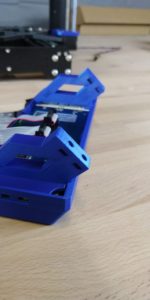
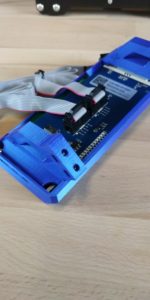
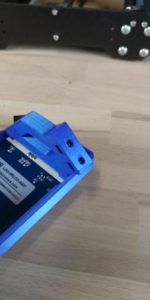
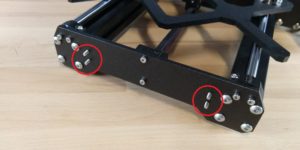
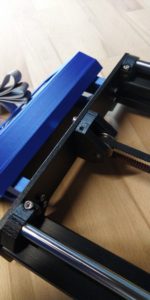
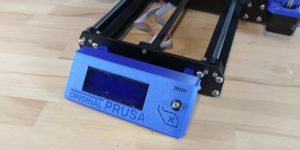
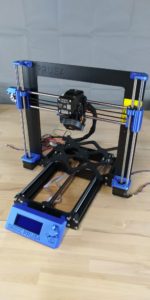
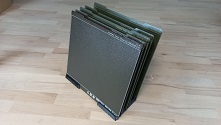
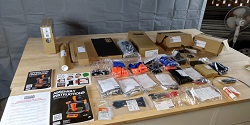
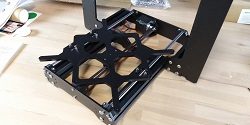
A nice short post on the Prusa i3 MK3S+ build guide. This weeks we’ll go through the simple process of installing the LCD screen onto the front of the 3D printer. Follow the pictorial guide in the gallery below to see what to do.
Stay tuned next week for the sixth part of the build guide where the heated print bed will be installed.


Pingback: Prusa i3 MK3S+ build guide – Part 6 – Lannix 3D
Pingback: Prusa i3 MK3S+ build guide – Part 4 – Lannix 3D